Toyota 3VZ-FE Head Bolt Torque Sequence and Angle Stages
Toyota 3VZ-FE head-bolt procedure: 12-point bolts at 25 lb-ft, then 90° and 90°, recessed bolts at 13 lb-ft, oiling and paint-mark checks.
For the Toyota 3.0L DOHC 3VZ-FE, lightly oil the 12-point cylinder-head bolt threads and under-head bearing surfaces, then tighten them uniformly in the bank-specific Toyota sequence to 34 N·m (25 lb-ft). Paint-mark the front of each bolt head, repeat the sequence adding 90 degrees, and repeat it once more adding another 90 degrees; the marks should face rearward. Lightly oil and tighten the separate recessed-head bolts with an 8 mm hex wrench to 18 N·m (13 lb-ft). Replace any bolt that is broken, deformed or will not reach the initial torque.
The Toyota 3VZ-FE is frequently confused with the 3VZ-E because both displace 3.0 liters and share the VZ family name. The FE engine in the cited Camry is a transverse, 24-valve DOHC design with four camshafts and split cam gears. Its head-bolt values and camshaft installation procedure must not be borrowed from a 4Runner or pickup 3VZ-E manual.
Toyota uses a torque-plus-angle joint for the main 12-point bolts. The initial 25 lb-ft pass seats the head, and two full sequence passes of 90 degrees establish final stretch. The paint mark provides a simple audit: a line placed at the front before the angle stages should point rearward after 180 degrees total rotation.
Additional recessed bolts use a conventional 13 lb-ft value and must not receive the main-bolt angle turns. This page remains indexable but visibly limited until licensed left- and right-bank physical sequence images can be attached. Its controller records the operation but does not invent bolt positions.
Interactive 3VZ-FE three-pass controller
Branded downloads includedPNG and PDF exports carry the TorqueSheet logo, torquesheet.com, source-page URL, and republishing attribution request. The PDF source link is clickable.
Tracks initial torque, first 90°, second 90° and recessed-bolt completion. It is not a scaled physical LH/RH map; use Toyota's bank-specific figure for every numbered location.
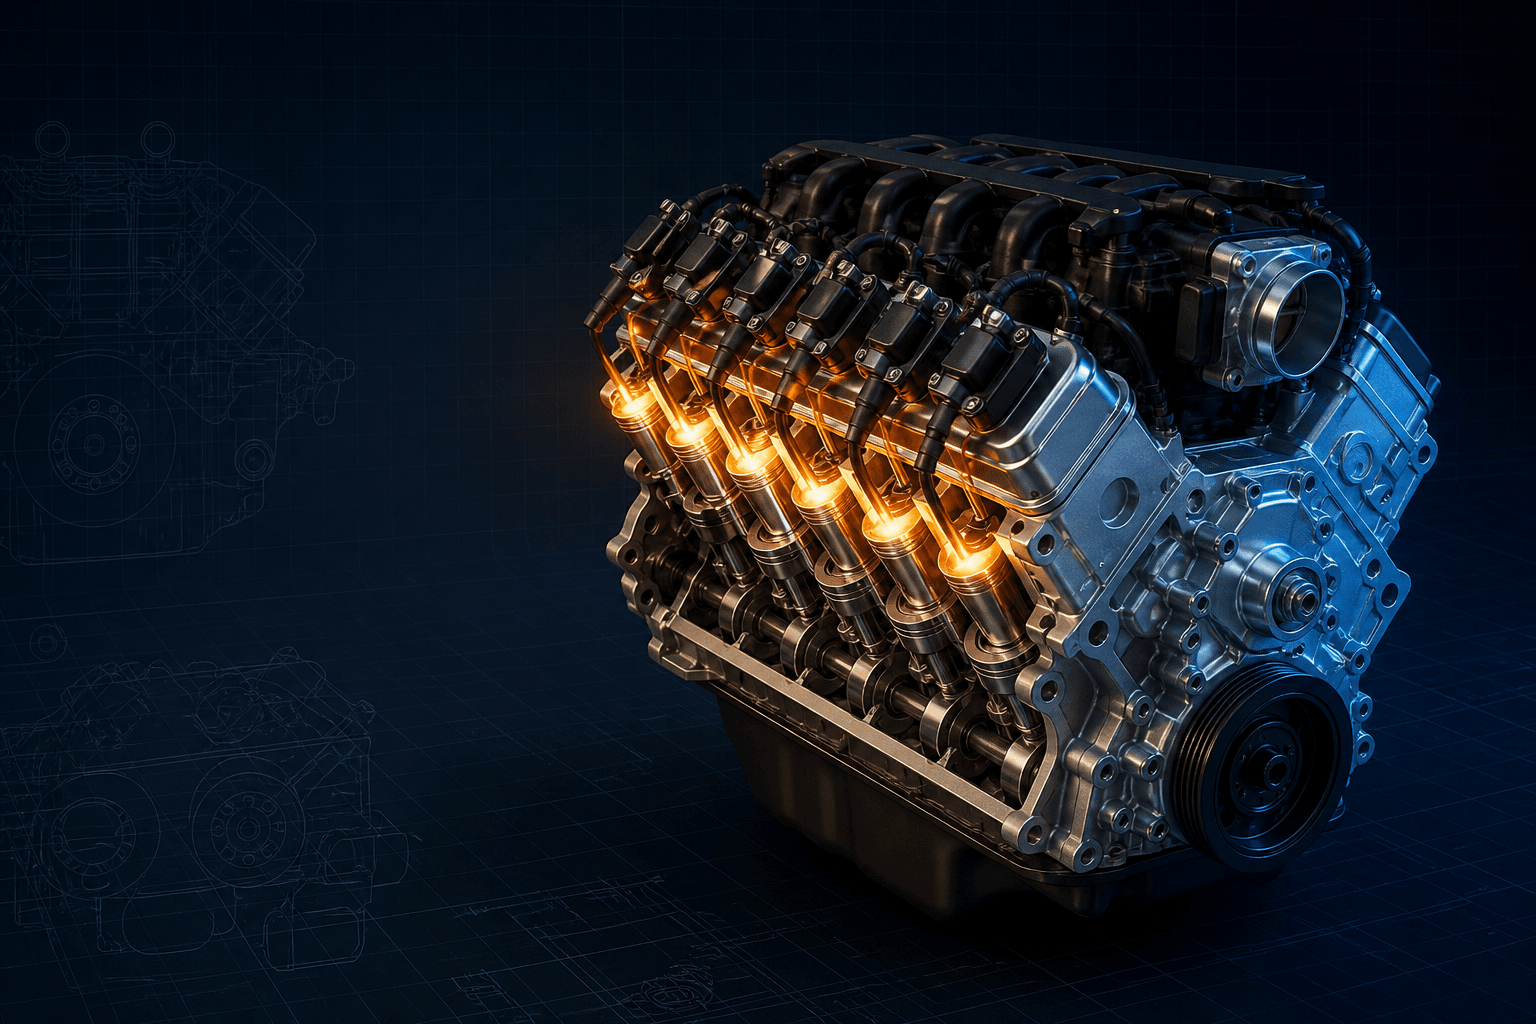
Toyota 3.0 V6 3vz Fe Head Bolt Torque Diagram
| APPLICATION / ITEM | SPECIFICATION | NOTES |
|---|---|---|
| 12-point bolt stage 1 | 34 N·m (25 lb-ft) | Several uniform passes in Toyota order |
| 12-point bolt stage 2 | +90° | Paint-mark front before turning |
| 12-point bolt stage 3 | +90° | Marks should finish facing rearward |
| Recessed-head bolts | 18 N·m (13 lb-ft) | Use an 8 mm hex wrench |
| Factory lubrication | Light engine oil | Threads and under-head surfaces |
This is the 24-valve, dual-overhead-cam 3VZ-FE procedure used in the cited 1993 Camry, not the truck-oriented SOHC 3VZ-E procedure and not the later 1MZ-FE. Correct gasket orientation, bank-specific number maps, cam sub-gear preload and level camshaft installation are separate required parts of the repair.
How to use this specification correctly
- 01
Verify the engine code on the vehicle/engine and confirm a DOHC 3VZ-FE. Exclude the SOHC 3VZ-E and later 1MZ-FE before ordering gaskets, seals or bolts.
- 02
Set and secure the crank/cam timing condition specified for disassembly. Release cam bearing caps and head bolts gradually in Toyota's reverse sequences to prevent cam or head distortion.
- 03
Inspect the aluminum heads and cast-iron block for warpage, erosion, cracks and surface-finish damage. Pay particular attention to any history of overheating or combustion leakage between adjacent cylinders.
- 04
Clean bolt holes, dowels, decks and oil/coolant passages. Remove all liquid and debris, and confirm every passage in each new gasket matches the correct bank and installed orientation.
- 05
Inspect each 12-point and recessed bolt. Toyota says to replace broken or deformed fasteners; also replace any bolt that cannot meet the 34 N·m initial stage smoothly.
- 06
Apply a light, consistent coat of clean engine oil to the 12-point bolt threads and under their heads. Do the same for recessed-bolt threads and bearing surfaces as Toyota directs; do not substitute anti-seize.
- 07
Place the new gasket correctly, lower the head onto its dowels and hand-start all fasteners. Identify every physical number from the correct Toyota LH or RH figure.
- 08
Tighten the 12-point bolts uniformly in several passes until every numbered position reaches 34 N·m (25 lb-ft). Stop and replace any bolt that behaves abnormally or cannot hold the specified torque.
- 09
Paint a clear line on the front of each main bolt head. Repeat the numerical order adding 90 degrees, then repeat it again adding a second 90 degrees. Confirm every paint line now faces rearward.
- 10
Using an 8 mm hex wrench, tighten the recessed-head bolts to 18 N·m (13 lb-ft). Install and phase the intake/exhaust cams, sub-gears, bearing caps and timing belt by Toyota's separate procedures, hand-rotate, recheck timing and inspect sealing after controlled startup.
3VZ-FE versus 3VZ-E and 1MZ-FE
The 3VZ-FE uses dual overhead camshafts per bank, whereas the 3VZ-E truck engine uses a different head and valvetrain architecture. The later 1MZ-FE also has different main-bolt torque/angle values. Search terms that omit the final letter are not precise enough for engine assembly.
Use the stamped engine code, VIN/application catalog and visible cam-drive architecture together. A swapped or imported engine should be identified by its actual parts rather than the chassis badge.
How the paint-mark check works
Marking the front side establishes a zero reference after the 25 lb-ft pass. One 90-degree turn points the mark sideways; the second 90-degree turn places it toward the rear, providing visible confirmation of 180 degrees total added rotation.
The paint line does not replace an angle gauge. It is a final error check that can expose a skipped first turn, a duplicated turn or a bolt whose socket slipped during tightening.
Main 12-point bolts versus recessed bolts
The 12-point bolts create the main clamp load and receive all three progressive stages. Recessed bolts are installed with an 8 mm hex tool and stop at 18 N·m; applying 180 degrees to them would be a serious error.
Lay out sockets and fasteners separately before beginning. Record completion of the recessed group only after all main-bolt angle passes and paint-mark checks are finished.
Camshaft installation is part of a successful head job
Toyota warns that the 3VZ-FE camshaft must be kept level because its thrust clearance is small; tilting can crack the head's thrust surface or cause seizure. The exhaust-cam sub-gears also require spring preload and service-bolt positioning.
Follow the bank-specific bearing-cap order, timing marks and service-bolt removal steps. Correct head clamp does not protect valves if a cam gear or timing belt is phased incorrectly.
3VZ-FE installation checklist
- DOHC 3VZ-FE code positively confirmed
- 3VZ-E and 1MZ-FE procedures excluded
- Head bolts released gradually in reverse order
- Head/block inspected after any overheat
- Correct LH/RH gaskets and orientation verified
- Bolt holes and passages clean and dry
- Broken/deformed fasteners replaced
- Threads and under-head surfaces lightly oiled
- Correct bank-specific Toyota sequence visible
- All 12-point bolts reached 34 N·m
- Front paint marks applied
- First +90° pass logged
- Second +90° pass logged
- Paint marks facing rearward
- Recessed bolts tightened to 18 N·m
- Cams/sub-gears/timing belt independently verified
Toyota 3.0L 3VZ-FE DOHC V6 specifications can change by model year, engine, platform, wheel, and installed component. Confirm the VIN or engine identity, part numbers, fastener condition, and the current manufacturer instructions before service.
Toyota 3VZ-FE Head Bolt Torque Sequence and Angle Stages FAQs
What are Toyota 3VZ-FE head-bolt torque stages?+
Tighten the 12-point bolts to 34 N·m (25 lb-ft), then add 90 degrees and another 90 degrees in the Toyota sequence.
What torque do the recessed 3VZ-FE head bolts use?+
Tighten the separate recessed-head bolts with an 8 mm hex wrench to 18 N·m (13 lb-ft). They do not receive angle turns.
Where should the 3VZ-FE paint marks finish?+
Marks placed on the front of each main bolt after the initial torque should face rearward after the two 90-degree passes.
Should 3VZ-FE head bolts be oiled?+
Yes. Toyota instructs applying a light coat of engine oil to the threads and under-head bearing surfaces.
Is the 3VZ-FE procedure the same as a 3VZ-E pickup engine?+
No. They use different cylinder-head and valvetrain architectures; retrieve the manual for the exact engine code.
Must every 3VZ-FE head bolt be replaced?+
The cited procedure explicitly requires replacement if a bolt is broken, deformed or cannot meet the initial torque. Unknown or damaged hardware should be replaced as a matched set.
Can aftermarket studs use 25 lb-ft plus two 90-degree turns?+
No. Follow the exact stud maker's lubricant and torque instructions along with the gasket/head requirements.
Technical sources
TorqueSheet favors engine- and component-specific manufacturer instructions over unsourced universal values.
1Toyota owner's manualsOfficial Toyota model-year manual lookup.↗