2015–2018 Subaru STI EJ25 Head Bolt Torque Sequence
2015–2018 STI EJ25 head-bolt guide with staged values, sequence cautions, fastener identification, preparation, diagram, FAQs, and manufacturer sources.
Subaru's revised 2015–2018 STI EJ25 procedure uses 40 N·m, 69 N·m, controlled loosening and reseating, then bolt-group-specific angle turns; it contains 19 numbered steps and is not interchangeable with other EJ25 engines.
Subaru's revised 2015–2018 STI EJ25 procedure uses 40 N·m, 69 N·m, controlled loosening and reseating, then bolt-group-specific angle turns; it contains 19 numbered steps and is not interchangeable with other EJ25 engines. Cylinder-head torque is a controlled clamping procedure, not one final number. Bolt diameter, location, lubricant, gasket, head material, thread depth, and whether a fastener is torque-to-yield all change the result.
Subaru issued a revised, application-specific procedure in 2018; the old generic EJ25 wording concealed meaningful bolt-group and model-year differences. Do not use this STI sequence on naturally aspirated SOHC/DOHC EJ25 engines or another turbo model without an exact Subaru source. Identify the engine code and compare every bolt with the service illustration before cleaning threads or opening a replacement set.
Work on a cold, clean assembly. Chase only when the service method allows it, clear liquid from blind holes, verify dowels and gasket orientation, lower the head without sliding, hand-start every fastener, and mark each completed stage.
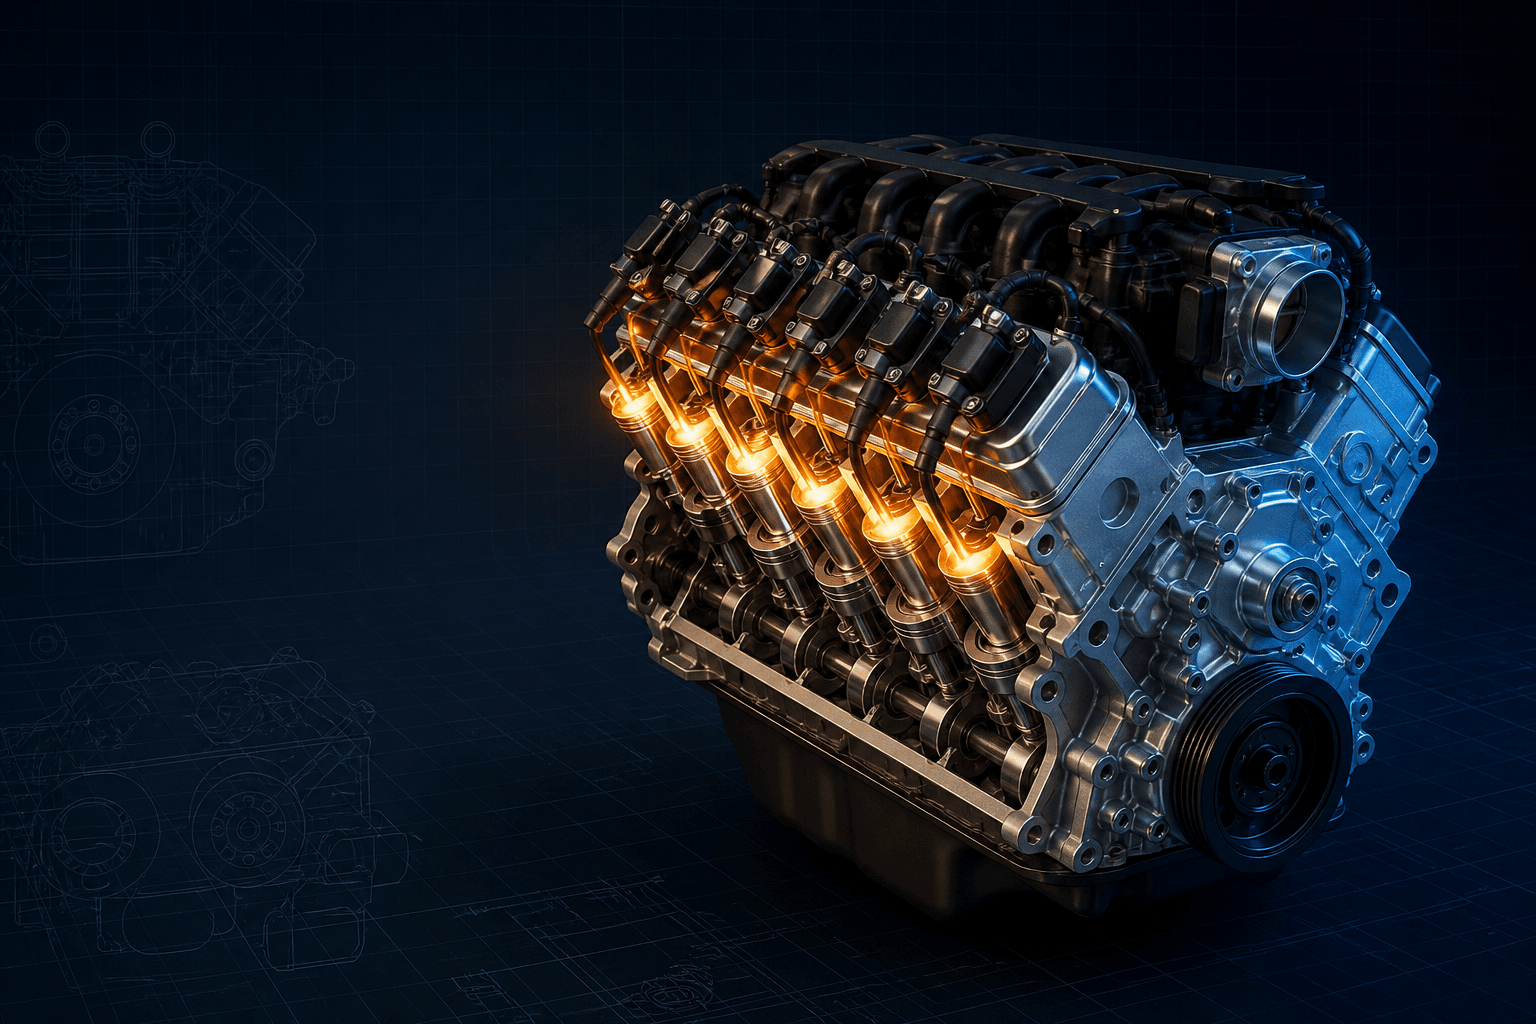
2015–2018 STI EJ25 A–F head-bolt sequence
Branded downloads includedPNG and PDF exports carry the TorqueSheet logo, torquesheet.com, source-page URL, and republishing attribution request. The PDF source link is clickable.
A–F are the six bolt positions used in Subaru bulletin 02-179-18. RH and LH orientation must be taken from the bulletin drawing; the letter order and unequal final angles are part of the procedure.
Subaru Ej25 Head Bolt Torque Specs
| APPLICATION / ITEM | SPECIFICATION | NOTES |
|---|---|---|
| Initial seating | 40 then 69 N·m | A–F order |
| Controlled loosening | 180° + 180° | Reverse F–A order |
| Group reset | 10 then 30 N·m | After each group's 360° release |
| Final angles | Group-specific | 98–102°, then 123–127° or 78–82° |
The bulletin labels six positions A–F, supplies separate RH/LH drawings, requires clean and oiled fasteners, and assigns different final angles to A/B versus C/D/E/F.
How to use this specification correctly
- 01
Identify engine code, model year, cylinder head, gasket, and new-bolt requirements from official service information.
- 02
Check block and head flatness using the specified straightedge and feeler-gauge method; repair out-of-limit parts before assembly.
- 03
Clean mating surfaces without scratching aluminum or leaving abrasive residue. Clear blind bolt holes and inspect threads.
- 04
Install new gasket and locating dowels in the required orientation, then lower the head squarely onto the block.
- 05
Prepare each bolt exactly as specified—new or reusable, dry or lubricated, and with the correct washer orientation.
- 06
Hand-start every bolt and perform each torque/angle stage in the numbered sequence. Mark bolt heads after every angle pass.
- 07
Complete small outer fasteners or follow-up stages only where the exact service procedure places them.
- 08
Reassemble timing, valvetrain, cooling, intake, and exhaust systems; prime lubrication where required, then inspect for leaks and abnormal operation.
The exact application: 2015–2018 STI turbo EJ25
Subaru bulletin 02-179-18 revised the cylinder-head procedure for the turbocharged EJ25 in the 2015–2018 STI. It is not a universal EJ25 chart for naturally aspirated SOHC engines, earlier STI models, Forester XT, Legacy GT, or another market.
The bulletin uses six bolt positions labeled A through F and supplies separate RH and LH drawings. It also requires a quality torque wrench and angle gauge, with a calibration check if either tool has not been calibrated during the prior six months.
Subaru's seating, loosening, and final-angle stages
Subaru starts all six bolts at 40 N·m in A-to-F order, repeats at 69 N·m, then loosens every bolt 180 degrees twice in reverse F-to-A order. The bolts are again tightened to 40 N·m and 69 N·m before the procedure splits into two groups.
For A-D-E, Subaru loosens each 360 degrees, applies 10 N·m and 30 N·m, then 98–102 degrees; A receives another 123–127 degrees while D and E receive 78–82 degrees. The B-C-F group follows the same staged reset, with B receiving 123–127 degrees and C and F receiving 78–82 degrees after the shared 98–102-degree turn.
Preparation and abnormal bolt feel
The bulletin requires clean bolt threads and block holes, compressed-air cleaning with eye protection, engine oil thoroughly applied to the bolt threads and washers, and a new head gasket. These friction and cleanliness instructions are part of the specification rather than optional shop preferences.
If a bolt clicks, creaks, squeaks, or does not tighten smoothly during the early seating stages, Subaru instructs the technician to repeat the cleaning and oiling preparation. Do not continue through an abnormal feel merely to complete the angle chart.
Why a generic final torque is unsafe
Subaru issued a revised, application-specific procedure in 2018; the old generic EJ25 wording concealed meaningful bolt-group and model-year differences. A torque-angle procedure deliberately stretches the main bolts after an initial seating torque. Reusing a torque-to-yield bolt or lubricating a dry specification changes clamp load even if the wrench displays the printed number.
Do not use this STI sequence on naturally aspirated SOHC/DOHC EJ25 engines or another turbo model without an exact Subaru source. The downloadable diagram is a workflow aid, not a substitute for the engine-specific service page.
Build a written procedure before opening the engine
Print the engine-specific service pages and make a stage sheet with one row for every bolt family. Record torque units, angle, sequence number, lubricant condition, bolt length, reuse rule, and any waiting or loosening step. Keep the sheet beside the engine and initial each completed pass. This sounds formal, but it prevents the most common assembly error: blending a remembered stage from one engine with the sequence from another.
Compare the replacement gasket and bolt set with the removed parts before the old components are discarded. Confirm bore openings, coolant and oil passages, locating holes, washer faces, thread lengths, and the number of small outer fasteners. Photograph the original arrangement and store bolts in a numbered template if they are being measured or used only for diagnosis.
Surface, thread, and gasket preparation
Head-gasket sealing depends on flatness, surface finish, cleanliness, and correct dowel location. Remove residue with methods approved for the block and head material; abrasive discs can remove metal and leave particles in the engine.
Liquid trapped in a blind bolt hole can hydraulically crack the block or create a false torque reading. Clean and dry holes, inspect for pulled threads, and confirm bolt length by position.
Torque, angle, and sequence control
Use a recently calibrated torque wrench for torque stages and a stable angle gauge for rotation stages. Draw the sequence on a card, mark each bolt after each stage, and stop if a bolt feels inconsistent or reaches angle with unusually low resistance.
The center-out pattern spreads gasket load and reduces head distortion. Never jump ahead to make up a forgotten bolt; determine the correct recovery method from the service information.
Interpreting an abnormal bolt feel
Every main bolt in the same stage should feel broadly consistent. A bolt that becomes tight too early may be bottoming in a contaminated hole, using the wrong length, cross-threaded, or dragging on a damaged washer. A bolt that turns too easily may be stretching abnormally or pulling threads. Stop before the angle is completed and investigate; finishing the pass to keep the sequence tidy can turn a recoverable problem into a damaged block.
If a stage was applied with the wrong unit, lubricant, bolt, or sequence, do not improvise a correction by adding or subtracting torque. Document what happened and consult the gasket, fastener, and engine service instructions for a restart or replacement decision.
When the engine should not be assembled
A pause at this stage is cheaper than repeating the entire job after coolant intrusion, combustion leakage, or a stripped block thread.
- Head or block flatness outside the published limit.
- Cracked casting, damaged fire-ring area, or incorrect surface finish.
- Pulled, dirty, wet, or repaired threads without an approved repair procedure.
- Mixed bolt lengths, unknown used torque-to-yield bolts, or damaged washers.
- Wrong gasket bore, thickness, orientation, or coolant/oil passage layout.
- Unavailable calibrated torque and angle tools.
First start and post-repair checks
Before starting, restore fluids, prime lubrication where required, rotate the engine by hand through the specified checks, and verify timing references. On first start, watch oil pressure, coolant temperature, misfire data, and external leakage.
Do not retorque modern torque-to-yield head bolts unless the exact procedure explicitly calls for it. A later leak is a diagnostic problem, not permission to add angle.
Subaru 2015–2018 STI EJ25 specifications can change by model year, engine, platform, wheel, and installed component. Confirm the VIN or engine identity, part numbers, fastener condition, and the current manufacturer instructions before service.
2015–2018 Subaru STI EJ25 Head Bolt Torque Sequence FAQs
Which EJ25 engines does Subaru bulletin 02-179-18 cover?+
It specifically covers the turbocharged EJ25 in 2015–2018 model-year STI vehicles.
What are the first EJ25 STI head-bolt stages?+
For the covered application, Subaru specifies 40 N·m in A-to-F order, then 69 N·m, followed by two 180-degree loosening passes in reverse order before reseating.
Do all six bolts receive the same final angle?+
No. After a shared 98–102-degree turn, A and B receive 123–127 degrees, while C, D, E, and F receive 78–82 degrees in their specified groups.
Can this revised STI sequence be used on a naturally aspirated EJ25?+
No. Use the exact Subaru service procedure for that engine code, cylinder head, model year, and market.
Technical sources
TorqueSheet favors engine- and component-specific manufacturer instructions over unsourced universal values.
1Subaru bulletin 02-179-18 — revised EJ25 head-bolt procedureSubaru's revised 19-step procedure for the 2015–2018 STI turbo EJ25, including A–F sequences, cleaning and oiling requirements, staged loosening, and bolt-group-specific angles.↗2Subaru Technical Information SystemSubaru's official engine-specific service-information portal.↗