Mitsubishi 6G72 Timing Belt Alignment: SOHC vs. DOHC Marks
Mitsubishi 6G72 timing-belt alignment guide separating SOHC 12V, SOHC 24V and DOHC routes, cam/crank marks, tensioner setup and verification.
Identify the 6G72 valvetrain before aligning any marks. SOHC versions have one cam sprocket per bank; the cited SOHC route installs the belt from the crank to the left-bank cam, water pump, right-bank cam and tensioner while keeping the drive side tight. DOHC 6G72 engines have two cam sprockets per bank and a hydraulic auto-tensioner; the factory procedure initially aligns the crank and moves it one tooth counterclockwise, aligns all four cams, clips the belt to prevent spring-loaded sprockets from moving, then applies the specified tensioner-pulley preload. These procedures are not interchangeable.
A search for a 6G72 timing diagram does not identify one engine. Mitsubishi used the same displacement code for a 12-valve SOHC, a later 24-valve SOHC and a four-cam 24-valve DOHC engine, including turbocharged 3000GT/Stealth versions. Counting cam sprockets is the quickest first filter: two means SOHC, four means DOHC.
The difference changes more than the picture. A spring-loaded DOHC cam can snap away from its mark and let valves on the same bank interfere if it is rotated the wrong way. The DOHC hydraulic tensioner also needs slow vise compression, a retaining wire and a pulley-preload/clearance check. Earlier SOHC procedures may use a spring-loaded tensioner arm instead, while SOHC-24V applications use an automatic tensioner with their own route.
This broad page remains indexable but visibly limited until each major vehicle/valvetrain combination has its own licensed factory diagram. Its purpose is to prevent the most dangerous error—choosing a plausible 6G72 graphic that belongs to a different cylinder head.
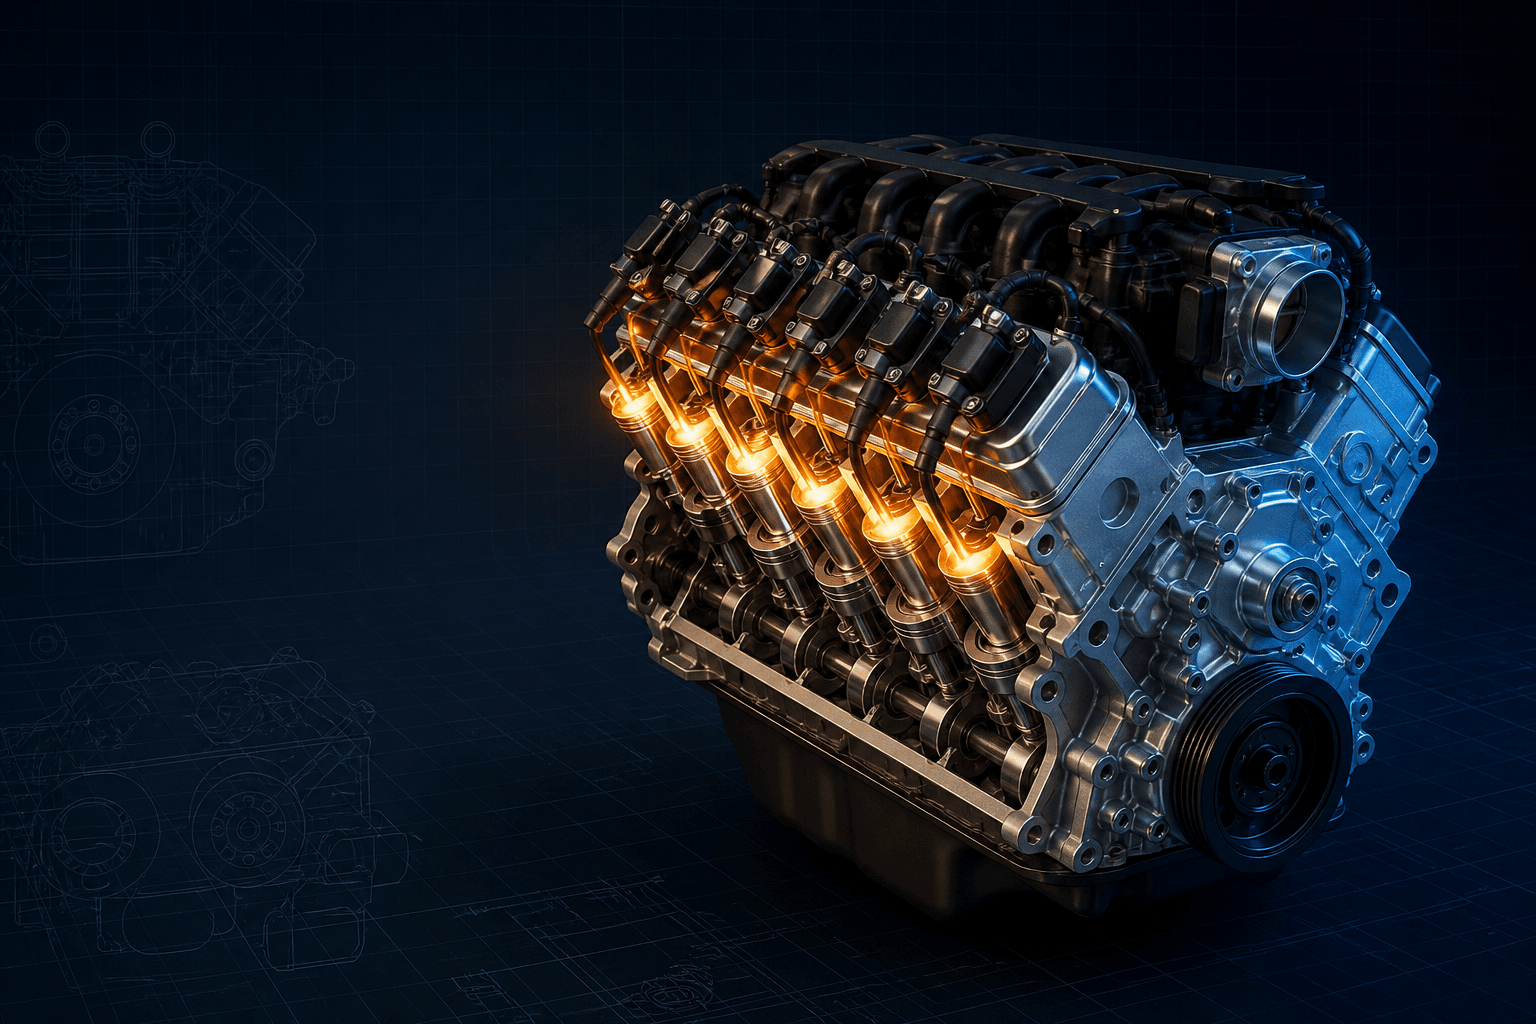
Interactive 6G72 variant timing map
Branded downloads includedPNG and PDF exports carry the TorqueSheet logo, torquesheet.com, source-page URL, and republishing attribution request. The PDF source link is clickable.
Functional component selector for SOHC and DOHC engines. Choose the matching valvetrain before using any physical mark or belt route.
Mitsubishi 6g72 Timing Belt Alignment Diagram
| APPLICATION / ITEM | SPECIFICATION | NOTES |
|---|---|---|
| SOHC cam sprockets | Two total | One per cylinder bank |
| DOHC cam sprockets | Four total | Intake and exhaust on each bank |
| SOHC route example | Crank → LH cam → water pump → RH cam → tensioner | Confirm idler/tensioner variation by application |
| DOHC crank preparation | Align, then one tooth counterclockwise | Factory installation step before four-cam routing |
| Final proof | Two clockwise turns plus fixed-mark/tension check | Never verify with starter |
Mitsubishi produced 12-valve SOHC, 24-valve SOHC and 24-valve DOHC 6G72 engines in transverse and longitudinal applications. Rear-cover pointers, tensioner style and component access vary among Diamante, 3000GT/Stealth, Eclipse/Galant, Montero/Pajero and Chrysler applications. Use the engine's actual head/sprocket count, VIN and vehicle manual—not the 6G72 casting alone.
How to use this specification correctly
- 01
Read the VIN and engine label, count cam sprockets and valves per cylinder, and identify SOHC 12V, SOHC 24V or DOHC 24V plus turbo/non-turbo application.
- 02
Obtain the matching Mitsubishi or Chrysler vehicle manual. Record belt direction only if the existing belt is eligible for reuse; normally replace belt, questionable pulleys and leaking tensioner/water pump together.
- 03
Remove covers and accessories with the application tools. Turn the crank clockwise to the manual's reference and align every cam/crank metal mark before releasing tension.
- 04
Inspect rear-cover pointers, crank sprocket/key, cam sprockets, idlers, water pump, seals and tensioner. Correct oil/coolant contamination because fluid sharply shortens belt life.
- 05
For SOHC, align both cam-sprocket marks to their rear-cover or bracket pointers and the crank sprocket mark to the front-case pointer. Keep the belt tight on the drive side while routing from crank to LH cam, water pump, RH cam and tensioner as the chosen manual shows.
- 06
For SOHC-24V with an auto tensioner, compress the rod very slowly in a vise until the holes align, insert the specified stiff retaining wire, install it pinned and use the vehicle's idler/tension-pulley sequence.
- 07
For DOHC, initially align the crank marks and move the crank sprocket one tooth counterclockwise as the factory procedure directs. Align the left-bank cams, then control the spring-loaded right-bank cams with two wrenches and the specified direction limits.
- 08
Route and clip the DOHC belt in the documented sprocket order so the four cams cannot jump. Do not rotate one cam a full turn after its partner is aligned; same-bank valve interference can occur.
- 09
Apply the exact tensioner-pulley preload and tighten its center bolt without letting the pulley relax. Rotate the crank clockwise two complete turns and allow the hydraulic system to settle for the specified time.
- 10
Return to the fixed crank reference, recheck all cam marks and confirm the auto-tensioner wire moves freely or rod gap meets the exact manual. Only then remove the pin, reassemble covers and verify quiet tracking after startup.
SOHC 12-valve and SOHC 24-valve
Both SOHC layouts show one cam sprocket per bank, but they do not automatically share the same tensioner. The early overhaul procedure describes a tensioner-arm/lock-bolt method; the cited Pajero SOHC-24V procedure prepares a hydraulic auto tensioner and includes an idler pulley in the route.
Confirm the complete front-case hardware before following the sequence. A replacement engine or imported Pajero/Montero unit may not match the model-year assumptions in a North American vehicle catalog.
DOHC four-cam alignment
The left-bank sprockets are aligned first, then the right bank is controlled with two wrenches because valve spring load can rotate a cam suddenly. Mitsubishi warns not to spin one aligned-bank sprocket through a full turn; intake and exhaust valves may contact each other.
Clips on the belt at the cam gears are temporary assembly aids. Remove every clip before rotation and keep tools clear of the sprockets when tension is released.
Crank pre-positioning is procedure-specific
The DOHC overhaul manual deliberately moves the crank sprocket one tooth counterclockwise after initial mark alignment while the cam belt is routed, then the tensioning sequence returns the relationship to its final marks. That is not permission to leave the completed engine one tooth retarded.
SOHC manuals use different slack-control movements, including an application that turns the crank a quarter-turn counterclockwise and then approaches the mark clockwise. Follow only the sequence attached to the exact tensioner system.
Hydraulic tensioner checks
A serviceable auto tensioner offers strong resistance and is compressed slowly, upright and square in a vise. If the rod moves easily, leaks, is damaged or falls outside the manual's projection specification, replace it rather than using the belt to mask the fault.
On the cited DOHC procedure, after two clockwise revolutions and a settling period the retaining wire should move smoothly; the procedure also specifies a tensioner-arm-to-body spacing check. Use that manual's exact numbers for the chosen application.
Final verification checklist
- VIN, vehicle and turbo status recorded
- Two-cam SOHC or four-cam DOHC positively identified
- 12V/24V head and tensioner hardware confirmed
- Only fixed factory crank/cam pointers used
- Belt, pump, pulleys and seals inspected
- Drive-side spans kept taut in specified route
- Spring-loaded DOHC cams controlled safely
- Correct pulley preload and auto-tensioner procedure used
- All temporary belt clips removed
- Two clockwise hand revolutions completed
- All fixed marks and tensioner clearance rechecked
- No oil/coolant contamination or abnormal belt tracking
Mitsubishi 6G72 3.0L V6 specifications can change by model year, engine, platform, wheel, and installed component. Confirm the VIN or engine identity, part numbers, fastener condition, and the current manufacturer instructions before service.
Mitsubishi 6G72 Timing Belt Alignment: SOHC vs. DOHC Marks FAQs
Are all Mitsubishi 6G72 timing-belt diagrams the same?+
No. The 6G72 exists as SOHC 12-valve, SOHC 24-valve and DOHC 24-valve engines with different sprocket counts and tensioning procedures.
How can I tell SOHC from DOHC on a 6G72?+
Count the visible cam sprockets with the upper cover removed: SOHC has one per bank (two total); DOHC has intake and exhaust sprockets per bank (four total).
Why does the DOHC procedure move the crank one tooth counterclockwise?+
It is a controlled installation position used while routing and tensioning the belt. Follow the full factory sequence; the completed fixed marks must still verify correctly.
Can I rotate a DOHC 6G72 cam a full turn to reach its mark?+
No. Mitsubishi warns that rotating one same-bank cam through a full turn after the other is aligned can let intake and exhaust valves interfere.
How is a 6G72 auto tensioner compressed?+
Very slowly and squarely in a vise until its holes align, then retained with the specified stiff wire. Replace a leaking or easily compressed tensioner.
Should the auto-tensioner pin slide after two turns?+
On the cited DOHC procedure, after two clockwise turns and the settling period the setting wire should move smoothly; also perform the specified rod/arm clearance check for that application.
Technical sources
TorqueSheet favors engine- and component-specific manufacturer instructions over unsourced universal values.
1Mitsubishi 6G72 engine overhaul manual - SOHC and DOHC timing beltsThe Mitsubishi engine manual provides separate SOHC and DOHC belt routes, cam-sprocket cautions, tensioner procedures and fixed timing references.↗2Mitsubishi Pajero 6G72 SOHC 24-valve timing-belt procedureThe Mitsubishi workshop manual gives the SOHC-24V crank-idler-LH-cam-water-pump-RH-cam-tensioner route and hydraulic tensioner preparation.↗3Mitsubishi 6G7-series workshop manualThe later Mitsubishi 6G7 publication separates 6G72 12-valve and 24-valve specifications and application-specific service procedures.↗