Ford 4.6 2V Head Bolt Torque Sequence by Application
Ford 4.6L 2V head-bolt procedures compared: 2004 truck 30 lb-ft +90° +90° and later six-stage release/reseat method, with new-bolt and gasket rules.
There is no safe universal Ford 4.6L 2V head-bolt shortcut. The 2004 F-150/E-150 VIN W workshop procedure uses new torque-to-yield bolts tightened in the bank-specific sequence to 40 N·m (30 lb-ft), then +90°, then +90°. The 2008 Crown Victoria 4.6L procedure uses 40 N·m, +90°, loosen every bolt at least one full turn, 40 N·m again, +90°, then +90°. Both require new bolts, a dry new gasket and the exact left/right Ford number map. Use the VIN, model year and WSM—not engine displacement alone—to choose the branch.
A 4.6L two-valve label identifies an engine family, not one service procedure. Ford used the Modular SOHC engine in F-Series pickups, E-Series vans, Crown Victoria, Grand Marquis and other platforms. During that production span the workshop sequence was revised, even though the familiar final clamp method still ends with two 90-degree turns.
The most important example is the release-and-reseat step. The 2004 F-150 and E-150 manuals show three stages: 30 lb-ft, +90 degrees and +90 degrees. The 2008 Crown Victoria manual first applies 30 lb-ft and +90 degrees, loosens every bolt by at least 360 degrees, then repeats 30 lb-ft, +90 degrees and +90 degrees. Omitting that model-specific middle operation means the published procedure was not followed.
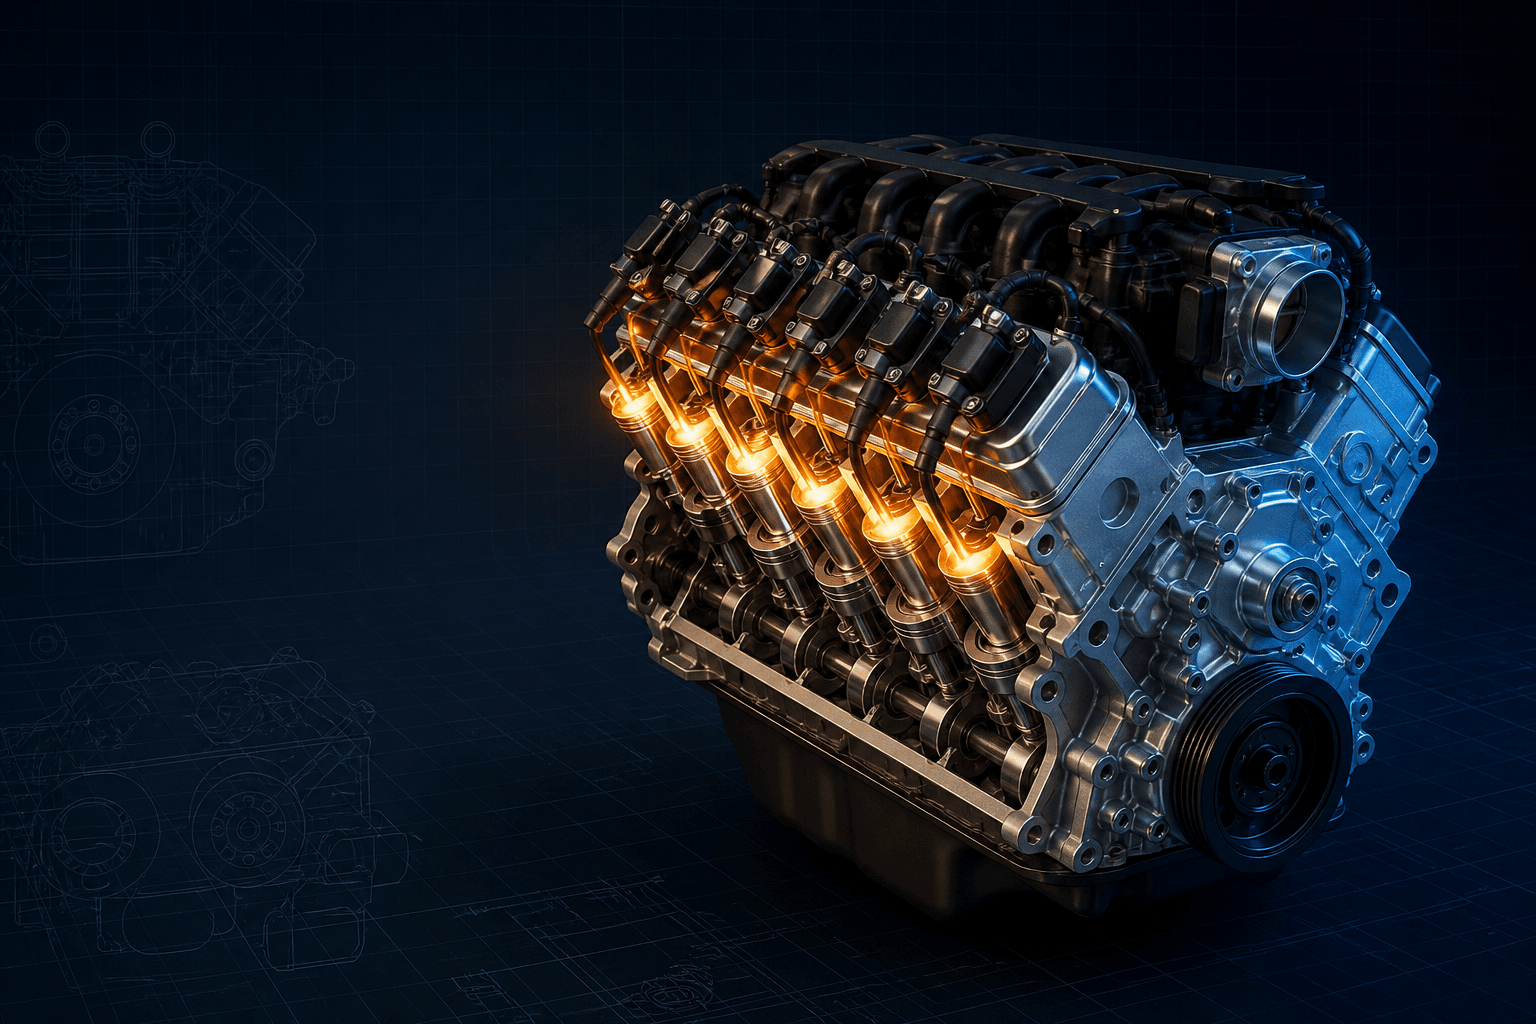
This page therefore asks for application selection before showing a workflow and remains indexable but visibly limited until licensed left- and right-bank sequence figures are attached. The interactive graphic is a pass log. It must not be used to invent bolt locations or to mirror one cylinder bank onto the other.
Interactive Ford 4.6 2V pass controller
Branded downloads includedPNG and PDF exports carry the TorqueSheet logo, torquesheet.com, source-page URL, and republishing attribution request. The PDF source link is clickable.
Tracks the ten main positions for a selected WSM branch; it is not a scaled LH/RH physical map. Confirm every number against the VIN-specific Ford sequence illustration.
Ford 4.6 2v Head Bolt Torque Sequence Diagram
| APPLICATION / ITEM | SPECIFICATION | NOTES |
|---|---|---|
| 2004 F-150/E-150 stage 1 | 40 N·m (30 lb-ft) | New bolts, exact bank sequence |
| 2004 truck/van stages 2–3 | +90°, then +90° | Repeat sequence for each angle |
| 2008 Crown Victoria stages 1–3 | 40 N·m, +90°, loosen ≥360° | Complete each stage in sequence |
| 2008 Crown Victoria stages 4–6 | 40 N·m, +90°, +90° | Reseat and complete both angle passes |
| Factory fasteners | New TTY bolts, lightly oiled/drained | Do not reuse removed bolts |
Ford installed the SOHC two-valve 4.6 in trucks, vans and Panther-platform cars across many years, with cylinder-head, gasket, dowel and service-procedure revisions. New factory bolts are lightly oiled consistently and allowed to drain; the gasket's sealing film must remain clean, dry and unscratched. Aftermarket studs or bolts use their own lubricant and tightening sheet.
How to use this specification correctly
- 01
Decode the VIN and record model year, vehicle line and engine code. Confirm the engine has SOHC two-valve heads rather than 3V or 4V castings and retrieve that vehicle's Ford Workshop Manual procedure.
- 02
Before disassembly, position and lock the crank/cams as the timing-chain procedure requires. The 4.6L is an interference-risk assembly; uncontrolled crank or cam rotation can create piston-to-valve contact.
- 03
With the engine cold, loosen old head bolts in the Ford removal order. Discard every production head bolt and gasket; Ford identifies the bolts as tighten-to-yield and nonreusable.
- 04
Clean aluminum sealing surfaces only with Ford-approved chemical and plastic methods. Do not use metal scrapers, wire wheels or powered abrasive discs that gouge the aluminum and create leak paths.
- 05
Measure the head and block by the WSM method. Ford's cited truck procedure does not authorize cylinder-head milling and gives a tight localized flatness criterion, so refer an out-of-limit head to an engine machinist familiar with Ford's replacement policy.
- 06
Install the correct new left/right coated gasket dry over sound dowels. Do not add copper spray, aviation cement or glue, and do not scratch the gasket's functional film while lowering the head.
- 07
Wipe the new production bolts with clean engine oil and allow them to drain for several minutes as Ford specifies. Install all fasteners loosely and map them against the correct bank-specific sequence.
- 08
For the 2004 F-150/E-150 branch, complete the entire number order at 40 N·m, repeat it adding 90 degrees, then repeat it adding another 90 degrees.
- 09
For the cited 2008 Crown Victoria branch, complete 40 N·m and +90 degrees, loosen each bolt at least 360 degrees in the instructed sequence, repeat 40 N·m, then complete +90 and +90 degree passes. Do not partially borrow stages from the truck procedure.
- 10
Remove timing locks only when the WSM directs, assemble the chains and tensioners exactly, hand-rotate and verify timing, then restore oil/coolant systems. Pressure-test and inspect the first heat cycle; do not retorque production TTY bolts unless a current Ford procedure explicitly orders it.
Application matrix: why two correct answers exist
The 2004 F-150 VIN W and E-150 VIN W sources independently publish the three-stage 40 N·m, +90, +90 method. The 2008 Crown Victoria source publishes the six-stage method with a minimum 360-degree release between initial seating and final tightening.
This difference is not permission to choose the easier procedure. It is evidence that the vehicle-line WSM controls. Check Ford service information for the exact year even when a replacement long block came from another platform.
Bolt preparation and torque-angle accuracy
Ford calls for new bolts lightly oiled with a rag and then allowed to drain. A soaked bolt or pooled oil in a blind hole is not the same condition. Consistent friction is essential because the initial torque establishes the starting point for bolt stretch.
Use a rigid angle gauge or a digital torque-angle wrench with enough clearance for a continuous turn. Paint-mark each completed bolt only after the angle tool is removed, and maintain a stage log so interruptions cannot create duplicated turns.
Dry coated gaskets and aluminum surfaces
The replacement gasket has a functional surface coating. Ford explicitly forbids common sealing aids and warns not to scratch the film. Clean mating surfaces and correct dowel alignment provide the intended seal.
Power abrasives can remove aluminum unevenly and leave embedded particles. A surface that looks shiny may be less flat and rougher in the wrong way. Use the chemical cleaner, plastic scraper and measurement method specified by Ford.
Timing-chain precautions during head work
The 4.6L uses separate chains for the two banks. Head installation instructions warn not to rotate the crank until directed and then require exact chain-link, crank-sprocket and cam-sprocket alignment.
Do not use the head-bolt sequence as a timing guide. Keep chain guides, ratcheting or non-ratcheting tensioners and cam holding tools matched to the vehicle's production hardware.
Ford 4.6 2V verification checklist
- VIN, year, vehicle line and engine code recorded
- SOHC 2V heads positively identified
- Correct WSM torque branch selected
- Old TTY bolts and gaskets discarded
- Aluminum surfaces cleaned without abrasives
- Head/block flatness checked by Ford method
- Correct left/right coated gasket installed dry
- Dowels aligned without scratching gasket/head
- New bolts lightly oiled and drained
- Bank-specific number map visible
- Every torque and angle stage logged
- 360-degree release used only where WSM specifies
- Timing-chain procedure completed independently
- Engine hand-rotated and timing reverified
- No production-bolt retorque improvised
Ford 4.6L SOHC 2-valve Modular V8 specifications can change by model year, engine, platform, wheel, and installed component. Confirm the VIN or engine identity, part numbers, fastener condition, and the current manufacturer instructions before service.
Ford 4.6 2V Head Bolt Torque Sequence by Application FAQs
What is the 2004 Ford 4.6 2V head-bolt procedure?+
For the cited F-150/E-150 VIN W applications: new bolts, 40 N·m (30 lb-ft), then +90 degrees, then +90 degrees in the bank-specific sequence.
Why does a 2008 Crown Victoria have six head-bolt stages?+
Its Ford procedure adds an initial seating cycle: 40 N·m, +90 degrees, loosen at least 360 degrees, then 40 N·m, +90 degrees and +90 degrees.
Can Ford 4.6 2V head bolts be reused?+
No. The cited Ford procedures identify them as tighten-to-yield and require new bolts.
Should new Ford 4.6 head bolts be installed dry?+
The cited Ford E-Series and truck procedures say to lightly oil the new bolts with a rag and allow them to drain for a few minutes.
Can copper spray be used on a 4.6L head gasket?+
No for these production procedures. Ford requires the coated gasket to be installed dry and prohibits copper spray, glue and similar sealing aids.
Is the 4.6L 3V head procedure the same as 4.6L 2V?+
Do not assume so. Three-valve heads, timing components and model-year procedures must be researched separately.
Do ARP studs use the Ford torque-angle stages?+
No. Follow the exact stud kit's fastener, washer, lubricant and torque instructions, plus the head and gasket maker's requirements.
Technical sources
TorqueSheet favors engine- and component-specific manufacturer instructions over unsourced universal values.
1Ford owner manualsOfficial Ford year/VIN manual lookup.↗