2005 Chevy 5.3 Exhaust Manifold Torque Specs and Sequence
2005 Chevy 5.3 Exhaust Manifold Torque Specs and Sequence with fastener-group distinctions, installation cautions.
For the covered 2005 Silverado 1500 5.3L Gen III V8, tighten the exhaust-manifold bolts center-out to 11 lb-ft (15 N·m), then repeat the sequence to 18 lb-ft (25 N·m). Tighten the separate manifold-to-pipe nuts to 37 lb-ft (50 N·m).
For the covered 2005 Silverado 1500 5.3L Gen III V8, tighten the exhaust-manifold bolts center-out to 11 lb-ft (15 N·m), then repeat the sequence to 18 lb-ft (25 N·m). Tighten the separate manifold-to-pipe nuts to 37 lb-ft (50 N·m).
These values apply to the factory cast exhaust manifolds on the documented Gen III truck 5.3L installation. Later Gen IV or Gen V engines, headers, repaired cylinder-head threads and aftermarket hardware require their exact instructions.
Install a new gasket, clean the cylinder-head bolt-hole threads and apply the specified threadlocker as a 5-mm band while leaving the first three bolt threads bare. Begin with the center pair, alternate side to side and work outward; inspect broken rear bolts and flange warpage rather than trying to stop a leak with extra torque.
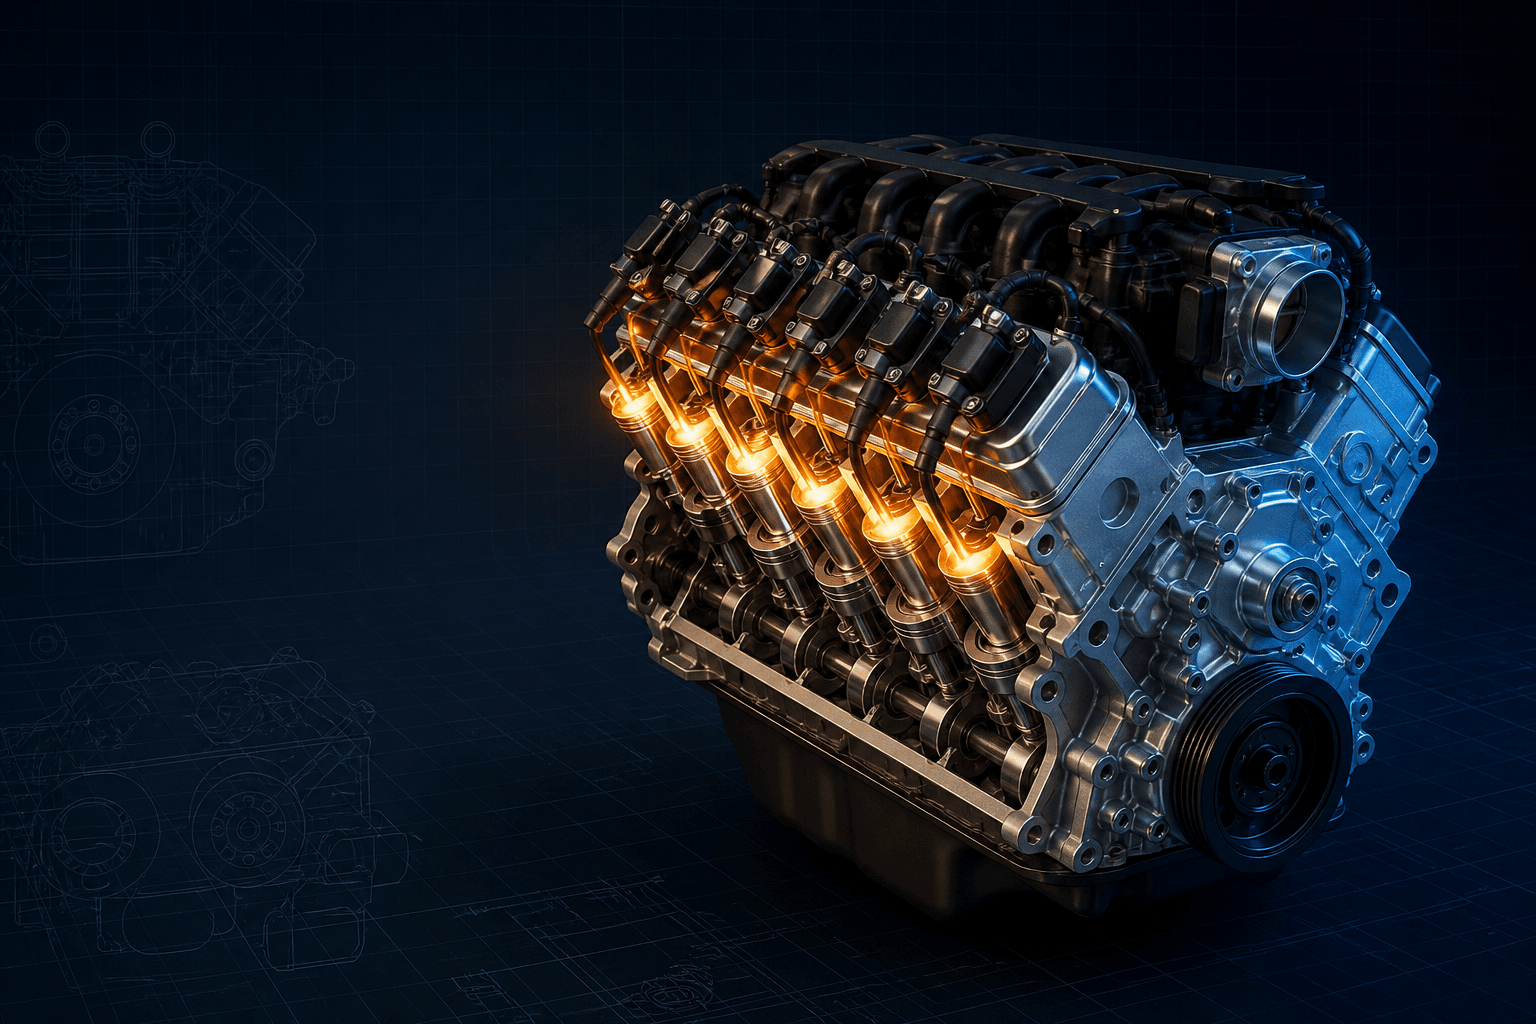
Interactive 2005 Silverado 1500 5.3L Gen III V8 fastener map
Branded downloads includedPNG and PDF exports carry the TorqueSheet logo, torquesheet.com, source-page URL, and republishing attribution request. The PDF source link is clickable.
Orientation aid only. Match every position and stage to the exact service diagram.
Chevy 5.3 Exhaust Manifold Torque Spec
| APPLICATION / ITEM | SPECIFICATION | NOTES |
|---|---|---|
| Manifold bolts — first pass | 11 lb-ft | 15 N·m; center-out sequence |
| Manifold bolts — final pass | 18 lb-ft | 25 N·m; repeat center-out |
| Manifold-to-pipe nuts | 37 lb-ft | 50 N·m; separate flange joint |
| Heat-shield bolts | 80 lb-in | 9 N·m; do not read as lb-ft |
Install a new gasket, clean the cylinder-head bolt-hole threads and apply the specified threadlocker as a 5-mm band while leaving the first three bolt threads bare. Begin with the center pair, alternate side to side and work outward; inspect broken rear bolts and flange warpage rather than trying to stop a leak with extra torque.
How to use this specification correctly
- 01
Identify the exact engine, component, fastener size and hardware instructions.
- 02
Clean and inspect threads and mating faces; apply only the specified lubricant or sealant.
- 03
Tighten in gradual balanced passes and verify any angle, cure-time or recheck instruction.
Use the center-out two-pass sequence
The 2005 Gen III service procedure does not treat 18 lb-ft as a one-step target. Bring the bolts to 11 lb-ft first, beginning at the center pair and alternating toward the ends, then repeat that path at 18 lb-ft. The staged pattern spreads clamp load across a long casting without forcing one end flat.
The pipe-flange nuts are downstream fasteners and use 37 lb-ft. Heat-shield screws use only 80 lb-in. Keeping those rows separate prevents the two most likely unit and joint errors on this repair.
Fix the sealing problem before tightening
A snapped rear bolt, eroded gasket or bowed manifold flange can leave a cold-start tick even when the surviving bolts click at specification. Remove broken hardware correctly, check the head threads and test the flange with a straightedge; replace or machine a distorted casting as appropriate.
Use a new gasket and the specified threadlocker placement, leaving the first three threads free. Header kits may specify different gaskets, bolts, lubricant and hot-cycle rechecks, so their instructions supersede this cast-manifold chart.
Application boundaries for 2005 Silverado 1500 5.3L Gen III V8
These values apply to the factory cast exhaust manifolds on the documented Gen III truck 5.3L installation. Later Gen IV or Gen V engines, headers, repaired cylinder-head threads and aftermarket hardware require their exact instructions.
Install a new gasket, clean the cylinder-head bolt-hole threads and apply the specified threadlocker as a 5-mm band while leaving the first three bolt threads bare. Begin with the center pair, alternate side to side and work outward; inspect broken rear bolts and flange warpage rather than trying to stop a leak with extra torque.
Chevrolet 2005 Silverado 1500 5.3L Gen III V8 specifications can change by model year, engine, platform, wheel, and installed component. Confirm the VIN or engine identity, part numbers, fastener condition, and the current manufacturer instructions before service.
2005 Chevy 5.3 Exhaust Manifold Torque Specs and Sequence FAQs
What is the 2005 Chevy 5.3 exhaust-manifold torque?+
Tighten the factory manifold bolts center-out to 11 lb-ft, then repeat the sequence to 18 lb-ft.
What torque applies to the exhaust-pipe nuts?+
The separate manifold-to-pipe nuts are tightened to 37 lb-ft (50 N·m) in the covered procedure.
Should threadlocker cover every exhaust-manifold bolt thread?+
No. The procedure calls for a 5-mm band of the specified product while leaving the first three threads bare.
Will tightening the remaining bolts stop a rear manifold leak?+
Not reliably. Inspect for a broken rear fastener, warped casting, failed gasket and damaged head threads before reassembly.
Technical sources
TorqueSheet favors engine- and component-specific manufacturer instructions over unsourced universal values.
1GM manuals and guidesOfficial GM model-year and VIN manual lookup.↗