Subaru EJ20 Head Bolt Torque Sequence by WRX Model Year
Subaru EJ20 turbo head-bolt guide comparing 2002 and 2005 WRX procedures, including prestress, release, split torque and angle stages.
There is no safe universal ‘EJ20 head torque.’ For a cited 2002 US-market Impreza WRX 2.0L DOHC turbo, oil the six bolt threads/washers; tighten all A–F to 29 N·m, then 69 N·m; loosen all 180 degrees twice in reverse order; tighten A/B to 34 N·m and C–F to 15 N·m; then tighten all A–F 80–90 degrees and another 80–90 degrees, without exceeding 180 degrees total. A cited 2005 WRX instead uses 29 N·m, 69 N·m, two 180-degree releases, 49 N·m on all six, +80–90 degrees on all, +40–45 degrees on all, then another +40–45 degrees only on A/B. Select the exact market, model year and engine code before choosing a branch.
EJ20 is an engine-family label, not a cylinder-head procedure. Subaru sold two-liter boxer engines across many markets and updated gasket, head, turbo and valve-timing hardware over a long production span. Even two US WRX manuals only three years apart publish different reseat and final-angle stages.
Both documented branches begin with a gasket prestress cycle: 29 N·m, then 69 N·m, followed by two 180-degree release operations. The change appears after relaxation. The 2002 procedure splits A/B from C–F and finishes with two broad angle passes; the 2005 procedure uses one 49 N·m reseat for all six and a graduated angle finish that gives A/B an extra turn.
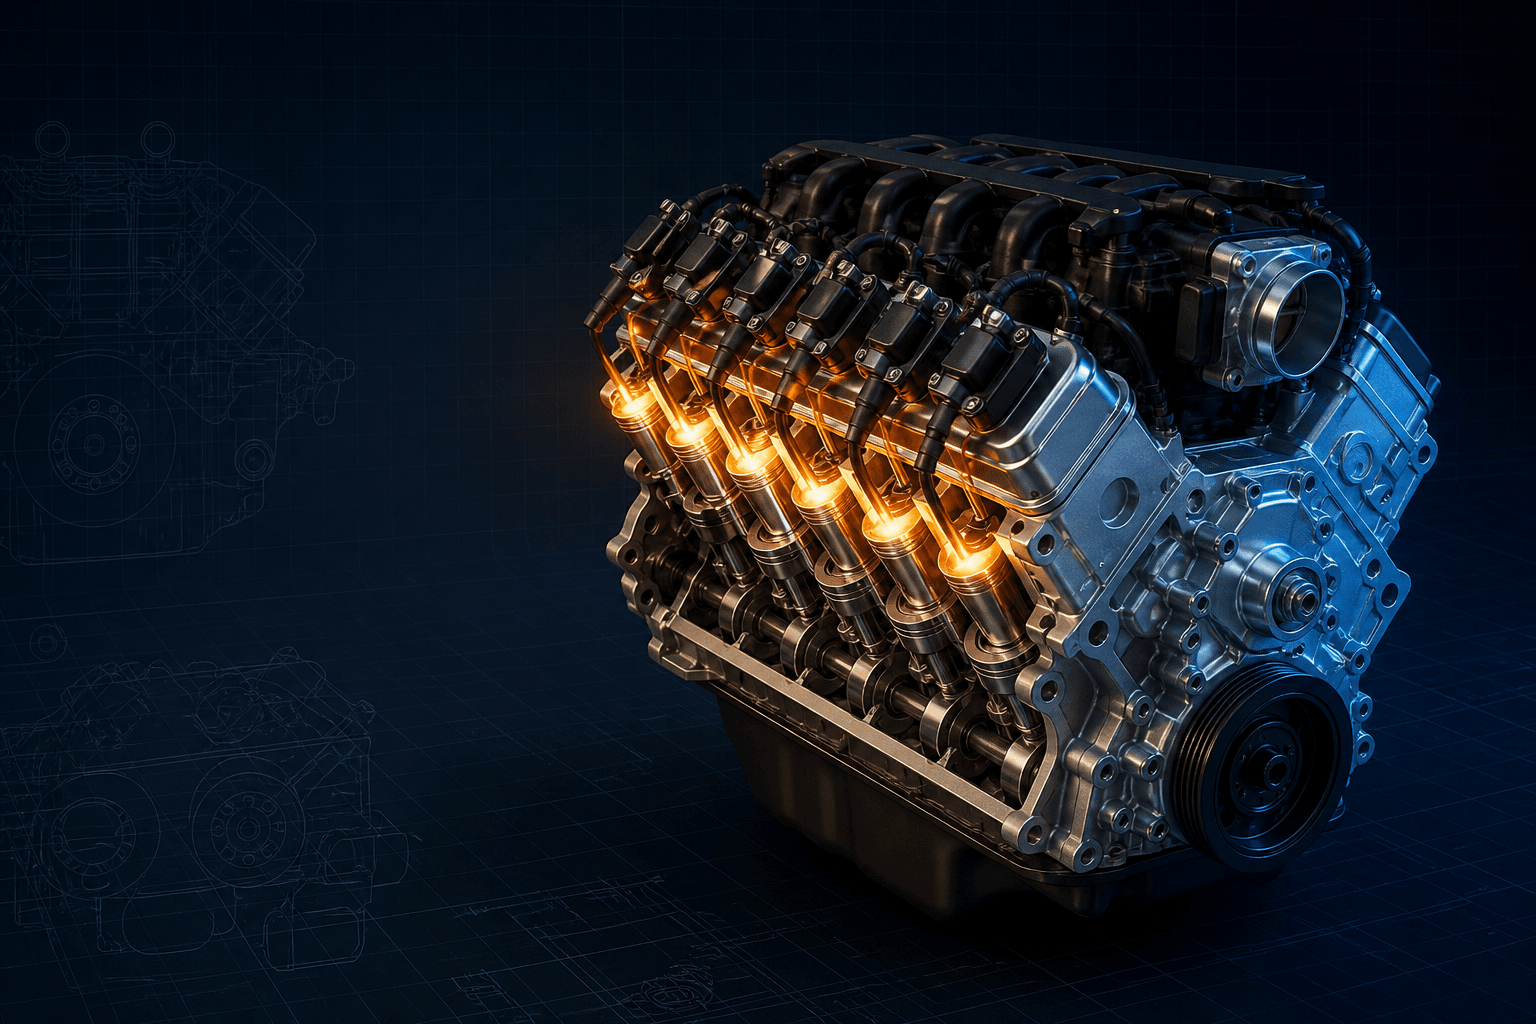
Because each boxer head has only six main positions, a generic sketch can look deceptively obvious. Orientation and letter assignment still matter, especially when releasing in reverse order. The interactive tool is therefore a branch-aware checklist, while the actual Subaru left/right sequence figure must remain beside the engine.
Interactive EJ20 six-bolt branch controller
Branded downloads includedPNG and PDF exports carry the TorqueSheet logo, torquesheet.com, source-page URL, and republishing attribution request. The PDF source link is clickable.
Tracks A–F passes for one selected model-year branch. It is not a physical left/right bank map; assign letters only from the matching Subaru service illustration.
Subaru Ej20 Head Bolt Torque Sequence Diagram
| APPLICATION / ITEM | SPECIFICATION | NOTES |
|---|---|---|
| Shared prestress stages | 29 N·m → 69 N·m | All A–F in Subaru order |
| Shared release stages | −180° → −180° | Reverse order; fully relax joint |
| 2002 WRX reseat | A/B 34 N·m; C–F 15 N·m | Split center/outer values |
| 2002 WRX finish | +80–90° → +80–90° all | Total final angle must not exceed 180° |
| 2005 WRX reseat | All A–F 49 N·m | Later documented branch |
| 2005 WRX finish | +80–90° all; +40–45° all; +40–45° A/B | A/B receive final extra turn |
Subaru used many EJ20 versions worldwide—naturally aspirated, turbo, open/semi-closed deck, AVCS and different gasket revisions. This page compares two documented US WRX turbo applications only. Its A–F controller logs each pass but is not a scaled left/right-bank drawing; the correct Subaru figure controls physical locations and release order.
How to use this specification correctly
- 01
Decode VIN, market, model year and engine code, then inspect the installed head, AVCS equipment and gasket part number. Choose the exact Subaru service chapter before ordering parts or selecting either branch on this page.
- 02
With the engine cold, drain systems and remove the timing belt, cam sprockets, intake and cams by the application procedure. Mark left/right parts and preserve valve shims/lifters in their original locations.
- 03
Loosen each head's six bolts gradually in Subaru's alphabetical removal order. Leave the specified retaining bolts engaged while separating the head so it cannot drop; never pry across the deck.
- 04
Clean the aluminum head and crankcase deck without scratching them. Measure warpage in all Subaru directions; the cited 2005 data gives a 0.035 mm mating-surface limit and a separate total grinding allowance that must be evaluated with combustion-chamber and timing geometry.
- 05
Clean and dry bolt holes, washers, dowels and oil/coolant passages. Use the correct new cylinder-head gasket and keep its coated sealing surfaces free of scratches, oil and added spray unless the selected Subaru procedure says otherwise.
- 06
Inspect each production bolt and washer for corrosion, damaged threads, cupping, necking or uncertain history. Apply a uniform coat of clean engine oil to the threads and washers as Subaru specifies; aftermarket studs require their own lubricant and torque sheet.
- 07
Map A–F from the correct bank-specific Subaru illustration. Tighten all six in alphabetical order to 29 N·m (22 lb-ft), then repeat the order at 69 N·m (51 lb-ft).
- 08
In reverse tightening order, back off all six by 180 degrees, then repeat another 180-degree back-off. Keep the socket square and verify that the prestressed joint has been fully relaxed before reseating.
- 09
For the cited 2002 WRX branch, tighten A/B to 34 N·m and C–F to 15 N·m. Tighten all A–F 80–90 degrees, then all A–F another 80–90 degrees; do not exceed 180 degrees total across those two turns.
- 10
For the cited 2005 WRX branch, tighten all A–F to 49 N·m. Add 80–90 degrees to all, then 40–45 degrees to all, then another 40–45 degrees only to A/B. Reassemble cams/timing with separate specifications, hand-rotate and verify timing before startup.
2002 and 2005 are separate engineered branches
The two applications agree through prestress and release but not afterward. On the 2002 branch, A/B and C–F begin final loading at different torques and every bolt receives up to 180 degrees total. On the 2005 branch all bolts reseat at 49 N·m, then the final rotations are distributed in three steps.
Never combine the 2002 split torque with the 2005 40–45 degree additions. A mixed procedure may look conservative because each number came from Subaru data, but the resulting clamp loads were never specified as a system.
Why Subaru prestresses and relaxes the gasket
The 29/69 N·m cycle compresses and seats the multi-layer joint before the bolts are backed off. The following low-torque baseline and measured rotation then establish the intended final stretch with the gasket already settled.
Skipping either 180-degree release retains part of the prestress and changes the baseline. Loosen in the manual's reverse order and log both release passes just as carefully as the final tightening passes.
Angle limits are maximums, not suggestions
The 2002 procedure warns not to exceed 90 degrees in either final pass and not to exceed 180 degrees total. The 2005 procedure caps the 40–45 degree stages and gives the final one only to A/B.
Use a rigid angle gauge or digital wrench and paint marks as an audit. Socket windup, an obstructed swing or losing zero between bolts can silently add rotation, so reset and record each position separately.
Surface preparation on a boxer engine
Coolant and oil can collect differently on a horizontal engine, and deck access often encourages aggressive scraping. Protect open crankcase passages, remove liquid from blind holes and use non-abrasive methods that preserve the aluminum surface finish.
A prior overheat or repeated gasket failure warrants pressure testing and dimensional inspection of both heads and crankcase decks. Machining decisions must account for Subaru's height/grinding limits, cam-carrier alignment and equal left/right geometry.
EJ20 installation checklist
- VIN, market, year and exact EJ20 variant confirmed
- Correct 2002 or 2005 documented branch selected
- Unsupported EJ20/EJ25 variants excluded
- Left/right parts and valve shims indexed
- Bolts removed gradually in correct order
- Heads and crankcase decks measured
- New correct gaskets installed clean and dry
- Bolt holes and passages clean and dry
- Bolts/washers inspected and uniformly oiled
- A–F physical map verified per bank
- 29 N·m and 69 N·m passes logged
- Two reverse 180° releases logged
- Branch-specific reseat torque logged
- Every final angle measured
- A/B-only stage used only on 2005 branch
- Cams and timing belt independently verified
- Engine hand-rotated before starter use
Subaru EJ20 2.0L DOHC turbo boxer-four specifications can change by model year, engine, platform, wheel, and installed component. Confirm the VIN or engine identity, part numbers, fastener condition, and the current manufacturer instructions before service.
Subaru EJ20 Head Bolt Torque Sequence by WRX Model Year FAQs
What is the Subaru EJ20 head-bolt torque?+
There is no single family-wide value. The documented 2002 and 2005 WRX procedures differ after their shared 29 N·m, 69 N·m and two 180-degree release stages.
What is the 2002 WRX EJ20 final procedure?+
After prestress and release, tighten A/B to 34 N·m and C–F to 15 N·m, then turn every bolt 80–90 degrees twice, with no more than 180 degrees total.
What is the 2005 WRX EJ20 final procedure?+
After prestress and release, tighten all six to 49 N·m, add 80–90 degrees to all, add 40–45 degrees to all, then add another 40–45 degrees only to A/B.
Should EJ20 head-bolt threads and washers be oiled?+
Yes for the cited production procedures. Subaru specifies engine oil on the washers and bolt threads; apply it consistently and keep holes free of pooled liquid.
Can I skip loosening the Subaru head bolts after 69 N·m?+
No. The two 180-degree back-off steps are part of the gasket prestress/relaxation cycle and establish the baseline for final loading.
Does this procedure cover a JDM EJ207 or EJ20X?+
No. Confirm that variant in its market- and model-year-specific Subaru service manual; do not transfer a US WRX branch automatically.
Do aftermarket EJ20 studs use these Subaru stages?+
No. Use the exact stud kit's lubricant, washer/nut, sequence and torque instructions together with the head-gasket maker's requirements.
Technical sources
TorqueSheet favors engine- and component-specific manufacturer instructions over unsourced universal values.
1Subaru owner's informationOfficial Subaru model-year/VIN manual lookup.↗