Ford 302 Water Pump Bolt Diagram and Torque
Ford 302 water-pump bolt-location controller with 1993 Mustang 16-24 N-m range, bolt-length mapping, rotation and timing-cover checks.
For the cited 1993 Mustang 5.0L, Ford lists water-pump-to-cylinder-front-cover bolts at 16-24 N-m (12-18 lb-ft). Because the pump uses several bolt and stud lengths through the front cover and may carry accessory brackets, make a position map during removal and tighten the matching fasteners evenly in stages. Other 302 vehicles can use a different pump, cover and accessory stack.
A front cover or water pump can leak even when every bolt reaches the published torque. The Ford 302 / 5.0L Windsor joint also depends on correct bolt length, clean threads, gasket orientation, sealant placement, cover alignment and even clamping. Extra torque cannot compensate for a distorted flange or misplaced long bolt.
The cited Mustang value belongs to its production front drive. A truck, van or retrofit serpentine system may use a different cover, pump rotation and bracket stack.
The interactive controller organizes preparation, staged tightening and verification. Before using it, draw the exact installed part and push each removed bolt through labeled cardboard. If the bolt count or hardware differs from the cited application, stop and use the matching service figure.
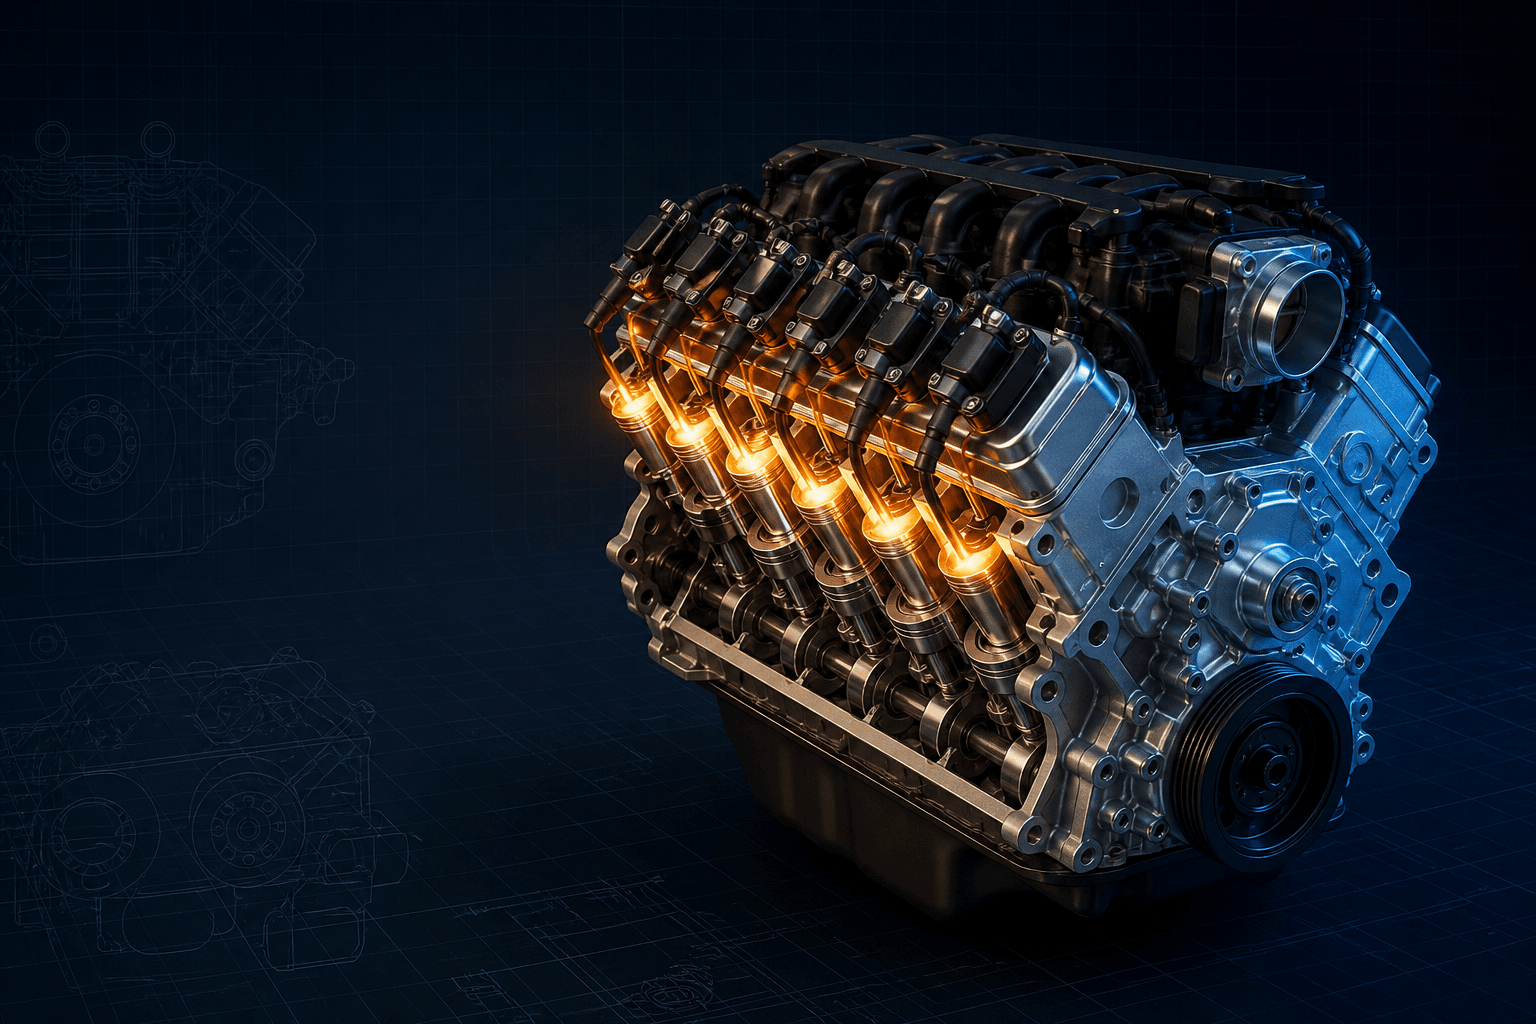
Interactive Ford 302 / 5.0L Windsor installation controller
Branded downloads includedPNG and PDF exports carry the TorqueSheet logo, torquesheet.com, source-page URL, and republishing attribution request. The PDF source link is clickable.
Select each stage in order. Use the exact service illustration to map bolt lengths and physical locations; this workflow intentionally avoids inventing a universal layout.
Ford 302 Water Pump Bolt Diagram
| APPLICATION / ITEM | SPECIFICATION | NOTES |
|---|---|---|
| 1993 Mustang pump | 16-24 N-m / 12-18 lb-ft | Pump to front cover |
| Bolt lengths | Multiple | Map every location |
| Rotation | Application-specific | Match belt routing |
| Fan/pulley | Separate joint | Use vehicle specification |
Ford 302 front drives include standard- and reverse-rotation pumps; the impeller and gasket passages must match the belt routing and cover.
How to use this specification correctly
- 01
Identify vehicle year, engine code, front-cover or pump part number and accessory-drive layout. Save the source illustration and record every bracket, stud and bolt location before removal.
- 02
Disconnect the battery and drain coolant or engine oil as required. Keep coolant off belts and oil-pan surfaces; dispose of fluids safely.
- 03
Rotate or support the engine only as the manual directs. Remove the fan, belt, pulley, balancer and accessories with the specified holding/puller tools rather than prying on sealing surfaces.
- 04
Make a full-size cardboard bolt map. Measure under-head length, diameter and shoulder or stud features; never assume bolts with the same head size are interchangeable.
- 05
Protect open passages, remove the component and clean the mating faces without gouging aluminum or thin stamped steel. Check flatness, cracks, corrosion, dowels and threaded-hole depth.
- 06
Match gasket ports to the cover and pump, place every bolt/stud by the removal map and verify bracket thickness/engagement.
- 07
Hand-start, snug evenly across the housing and finish the cited Mustang branch at 16-24 N-m without pulling the casting sideways.
- 08
Rotate the engine by hand when timing parts were disturbed, reinstall accessories and route the belt from the exact diagram. Refill with the specified fluid and vacuum-fill/bleed the cooling system when required.
- 09
Pressure-test cold, then run to operating temperature while monitoring level and temperature. Inspect every gasket edge, hose, drain and cover-to-pan corner for seepage.
Application branches and bolt maps
The cited Mustang value belongs to its production front drive. A truck, van or retrofit serpentine system may use a different cover, pump rotation and bracket stack.
Long bolts can pass through the pump and cover into the block. A wrong position can bottom, leak or leave insufficient engagement.
Installation sequence
Match gasket ports to the cover and pump, place every bolt/stud by the removal map and verify bracket thickness/engagement.
Hand-start, snug evenly across the housing and finish the cited Mustang branch at 16-24 N-m without pulling the casting sideways.
Why bolt length matters
A long bolt in a shallow blind hole can bottom before clamping the part; a short bolt may strip the first few threads. Some water-pump or front-cover bolts also carry brackets, studs or pass near coolant and oil passages.
Map bolts by physical location and measured length. Apply sealant only where the selected manual or component maker specifies it, because changing thread friction changes clamp load.
Common causes of leaks and broken castings
- Installing the wrong-rotation pump
- Losing long-bolt locations
- Using fan/pulley torque on pump bolts
- Sealing a coolant passage
- Forcing a bracket stack with short bolts
Final checks
- Correct gasket and component orientation
- All dowels/registers fully seated
- Bolt lengths returned to mapped locations
- Specified sealant beads applied only at named joints
- All bolts hand-started
- Staged center-out or source sequence completed
- Cover flush/aligned where measured
- Belt routed for correct pump direction
- Cooling system bled and pressure-tested
Ford Ford 302 / 5.0L Windsor specifications can change by model year, engine, platform, wheel, and installed component. Confirm the VIN or engine identity, part numbers, fastener condition, and the current manufacturer instructions before service.
Ford 302 Water Pump Bolt Diagram and Torque FAQs
What is 1993 Mustang 5.0 water-pump torque?+
Ford lists 16-24 N-m (12-18 lb-ft) for pump-to-front-cover bolts.
Why are Ford 302 water-pump bolt maps important?+
Bolt/stud lengths and bracket locations vary; a misplaced long or short bolt can bottom, strip or fail to clamp.
Should gasket sealer be used everywhere?+
No. Use sealant only where the exact procedure or gasket maker calls for it. Many molded or coated gaskets install clean and dry, while cover-to-oil-pan corners may need a precisely placed bead.
Can an impact wrench be used for final tightening?+
No. Thin covers and aluminum housings need controlled staged clamping with a calibrated inch-pound or low-range torque wrench.
What if the bolt map differs from this page?+
Stop and use the service figure for the exact engine, cover or pump. Do not force a generic diagram onto different hardware.
Technical sources
TorqueSheet favors engine- and component-specific manufacturer instructions over unsourced universal values.
1Ford owner manualsOfficial Ford year/VIN manual lookup.↗