Chevy LS7 Head Bolt Torque Sequence and Angle Procedure
Chevy LS7 head-bolt sequence: new M11 bolts at 22 lb-ft, then 90° and 70°, M8 bolts at 22 lb-ft, gasket checks, preparation and verification.
On a production 7.0L LS7 with new GM-type torque-to-yield bolts, tighten the ten M11 bolts on each head in the factory numbered sequence to 30 N·m (22 lb-ft), add 90 degrees in the same order, then add 70 degrees in the same order. Tighten M8 bolts 11–15 to 30 N·m (22 lb-ft), starting with center bolt 11 and alternating side to side while moving outward. Use the exact left- or right-bank GM sequence illustration; do not mirror a remembered pattern.
The LS7's 4.125-inch bore leaves less deck width between adjacent cylinders than smaller-bore production LS engines, which makes surface condition, gasket identity and even clamp load especially important. The familiar 22 lb-ft first pass is not the finished torque. It is followed by two separate measured rotations—90 degrees and 70 degrees—on every M11 bolt in the published order.
A web search often mixes LS7 with LSX blocks and aftermarket six-bolt cylinder heads. A production Corvette LS7 does not automatically use the outer fastener arrangement or stud values advertised for an LSX racing block. Likewise, the fact that the LS2 and LS7 share the same production torque-angle numbers does not make their gaskets, cylinder heads or service limits interchangeable.
The interactive element below is intentionally a pass controller rather than an invented physical pattern. This page remains indexable but visibly limited until a licensed left/right GM location figure is available. Use the applicable service-manual picture at the bench and use this controller to prevent skipped bolts, repeated angles and out-of-order passes.
Interactive LS7 15-fastener pass controller
Branded downloads includedPNG and PDF exports carry the TorqueSheet logo, torquesheet.com, source-page URL, and republishing attribution request. The PDF source link is clickable.
A pass-tracking aid, not a scaled physical bolt-location drawing. Match numbers 1–15 to the correct left- or right-bank GM illustration before applying torque or angle.
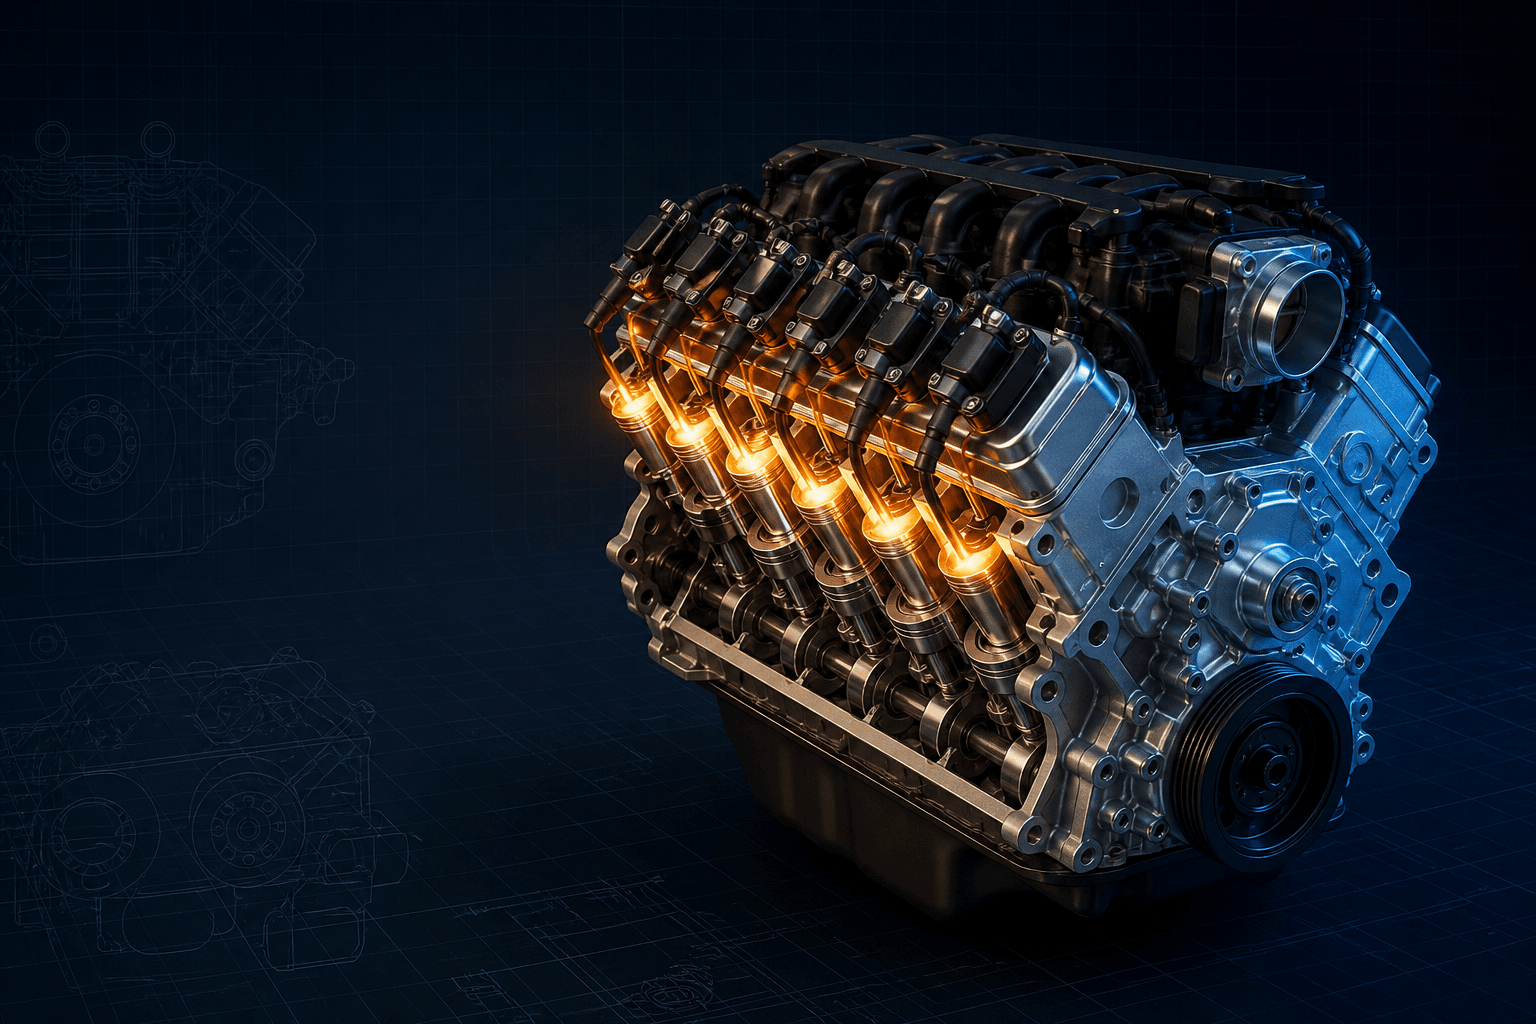
Chevy Ls7 Head Bolt Torque Sequence Diagram
| APPLICATION / ITEM | SPECIFICATION | NOTES |
|---|---|---|
| M11 bolts 1–10, first pass | 30 N·m (22 lb-ft) | Factory bank-specific order |
| M11 bolts 1–10, second pass | +90° | Measured with an angle meter |
| M11 bolts 1–10, final pass | +70° | Repeat the exact order |
| M8 bolts 11–15 | 30 N·m (22 lb-ft) | Center first, alternate outward |
| Fastener policy | New M11 and M8 bolts | Do not reuse the removed production bolts |
The factory LS7 joint uses ten M11 main bolts and five M8 upper bolts per bank. All are replaced during assembly. Clean and dry every blind hole, verify the 7.0L displacement marking and gasket direction, use an angle meter for both rotation passes, and follow a different specification if studs, aftermarket bolts, nonproduction heads or a modified block are installed.
How to use this specification correctly
- 01
Confirm the engine is an LS7 by VIN/RPO, block casting and build records. Record the cylinder-head castings, gasket numbers and fastener kit; do not identify a swapped engine by valve-cover lettering.
- 02
Measure block deck and head flatness using the current 7.0L service limits. Inspect the narrow inter-cylinder deck areas, combustion sealing rings, dowels and threaded holes for fretting, erosion or repair history.
- 03
Clean the blind M11 and M8 holes to their full depth with the approved thread-cleaning method and solvent, then remove all liquid and debris. Wear eye protection when using controlled compressed air.
- 04
Inspect the new head gasket's displacement marking, bank/orientation markings and passage alignment. Install it dry on sound locating pins; GM warns against adding sealant unless a specific procedure calls for it.
- 05
Lower the clean head vertically onto the dowels without dragging it. During handling, protect the LS7's valvetrain and combustion face and ensure no valve is driven into a piston by an incorrect crank/cam position.
- 06
Install all new production M11 and M8 bolts in their specified positions. Use only their supplied/preapplied treatment; unapproved oil, anti-seize or threadlocker changes friction and clamp load.
- 07
Using the correct bank-specific number map, tighten M11 bolts 1–10 in sequence to 30 N·m (22 lb-ft). Mark the pass on a paper or digital job card.
- 08
Fit and zero an angle gauge at each fastener, then repeat M11 positions 1–10 and add 90 degrees. Paint-mark each completed bolt after the tool is removed.
- 09
Repeat M11 positions 1–10 a third time and add 70 degrees. Stop on binding, a sudden loss of resistance or an angle that cannot be reached smoothly; investigate rather than substituting more torque.
- 10
Tighten M8 positions 11–15 to 30 N·m (22 lb-ft), starting at center position 11 and alternating outward. Complete the opposite bank with its own diagram, restore the oil/cooling systems and verify sealing during pressure checks and the first controlled heat cycle.
What the three M11 passes accomplish
The initial torque pass seats the gasket and removes gross joint slack. The angle passes then advance each new bolt through a controlled rotation, reducing the effect of friction variation compared with relying on a single high torque number.
The 90- and 70-degree values are additions, not cumulative gauge readings copied from the first bolt. Re-zero or use an angle tool that clearly records each individual rotation, and repeat the full numbered order for every pass.
LS7 versus LSX and aftermarket six-bolt heads
Chevrolet Performance literature describes the production LS7 architecture separately from LSX blocks and LSX-LS7-style six-bolt racing heads. External head fasteners, studs and specialty gaskets are a different engineered joint with different instructions.
When a block has been sleeved, decked, line-honed, repaired or converted to studs, ask the machinist and fastener supplier for the exact assembly sheet. Production numbers cannot account for changed thread engagement, lubricant or gasket construction.
Gasket marking and deck preparation
GM's 7.0L procedure specifically calls for inspecting the gasket's displacement marking and installing it in the proper direction and position. Before placing the head, compare every oil and coolant opening against the block; do not assume two visually similar MLS gaskets are interchangeable.
Avoid aggressive abrasive discs that can round deck edges, remove aluminum or embed grit. Any finish correction should produce the surface roughness required by the selected gasket and preserve the designed deck height.
Why all production bolts are replaced
The M11 bolts are intentionally stretched by the torque-angle method, so their previous loading history is unknown after removal. The GM LS7 procedure also says to install new cylinder-head bolts rather than treating the smaller M8 set as reusable hardware.
Aftermarket reusable fasteners are reusable only under their maker's inspection criteria. The presence of a stud or 12-point nut is a signal to stop using this page's stock torque schedule and retrieve the exact kit instructions.
LS7 assembly checklist
- VIN/RPO, block and head castings recorded
- Production LS7 distinguished from LSX six-bolt hardware
- Deck and head measured to 7.0L limits
- Narrow inter-bore sealing areas inspected
- All blind holes clean and completely dry
- Correct displacement-marked gasket selected
- Gasket direction and passage alignment verified
- New M11 and M8 GM-type bolts installed
- Correct left/right GM sequence figure visible
- M11 30 N·m pass logged
- M11 +90° pass logged
- M11 +70° pass logged
- M8 30 N·m center-out pass logged
- No unapproved lubricant or sealant added
- Cooling and oil systems tested before load
Chevrolet 7.0L LS7 Gen IV V8 specifications can change by model year, engine, platform, wheel, and installed component. Confirm the VIN or engine identity, part numbers, fastener condition, and the current manufacturer instructions before service.
Chevy LS7 Head Bolt Torque Sequence and Angle Procedure FAQs
What is the stock LS7 cylinder-head bolt procedure?+
Tighten new M11 bolts 1–10 to 30 N·m (22 lb-ft), add 90 degrees, then add 70 degrees in sequence. Tighten new M8 bolts 11–15 to 30 N·m (22 lb-ft).
Are LS7 head bolts reusable?+
No. GM's 7.0L service procedure instructs installing new cylinder-head bolts during assembly.
Does an LS7 use LSX six-bolt head torque specs?+
Not a production LS7 block. LSX and aftermarket six-bolt combinations have additional fasteners and their own gasket and fastener instructions.
Can I add sealant to an LS7 MLS head gasket?+
GM says not to use sealant unless specifically instructed. Install the correct new gasket in the marked direction on properly prepared dry surfaces.
Can the 90° and 70° turns be replaced with a final torque value?+
No. Measured rotation is part of the production fastener specification; friction makes an observed final torque an unreliable substitute.
Do LS7 M8 head bolts tighten before the M11 bolts?+
No. Complete all three passes on M11 bolts 1–10 first, then tighten M8 bolts 11–15 from the center outward.
Why does this page show a verification warning?+
The specifications and workflow are sourced, but the interactive element is only a pass controller. TorqueSheet labels it as an incomplete diagram page until a licensed bank-specific physical number map is attached.
Technical sources
TorqueSheet favors engine- and component-specific manufacturer instructions over unsourced universal values.
1Chevrolet Performance LS7 EFI crate-engine specificationsChevrolet identifies the crate LS7 as a 7.0L Gen IV aluminum-block engine with a 4.125-inch bore and application-specific production information, supporting positive engine and component identification before service.↗