Chevy LS1 Valve Adjustment Order Diagram
LS1 net-lash rocker installation order: no routine lash adjustment, 30 N-m rocker torque and GM's two-position tightening groups.
A stock LS1 has a net-build hydraulic valvetrain; GM states that no valve-lash adjustment is required. During rocker installation, set No. 1 at compression TDC and tighten exhaust rockers 1, 2, 7 and 8 plus intake rockers 1, 3, 4 and 5 to 30 N-m (22 lb-ft). Rotate the crankshaft 360 degrees, then tighten exhaust 3, 4, 5 and 6 plus intake 2, 6, 7 and 8 to the same torque.
A valve-adjustment diagram is useful only after the valvetrain is identified. Engines grouped under the Chevy LS1 5.7L name can use hydraulic lifters, mechanical lash, pedestal rockers, screw adjusters or selective buckets. Those systems do not share one clearance or one adjustment technique.
GM explicitly calls the production LS1 system net build. There is no cold feeler-gauge lash number to set on an unmodified engine.
Use the interactive sequence as a position-and-recording aid. It does not replace the exact service manual, cam card or cylinder-head instructions. Record every starting measurement, keep reused parts in their original positions and turn the crankshaft by hand before starting the engine.
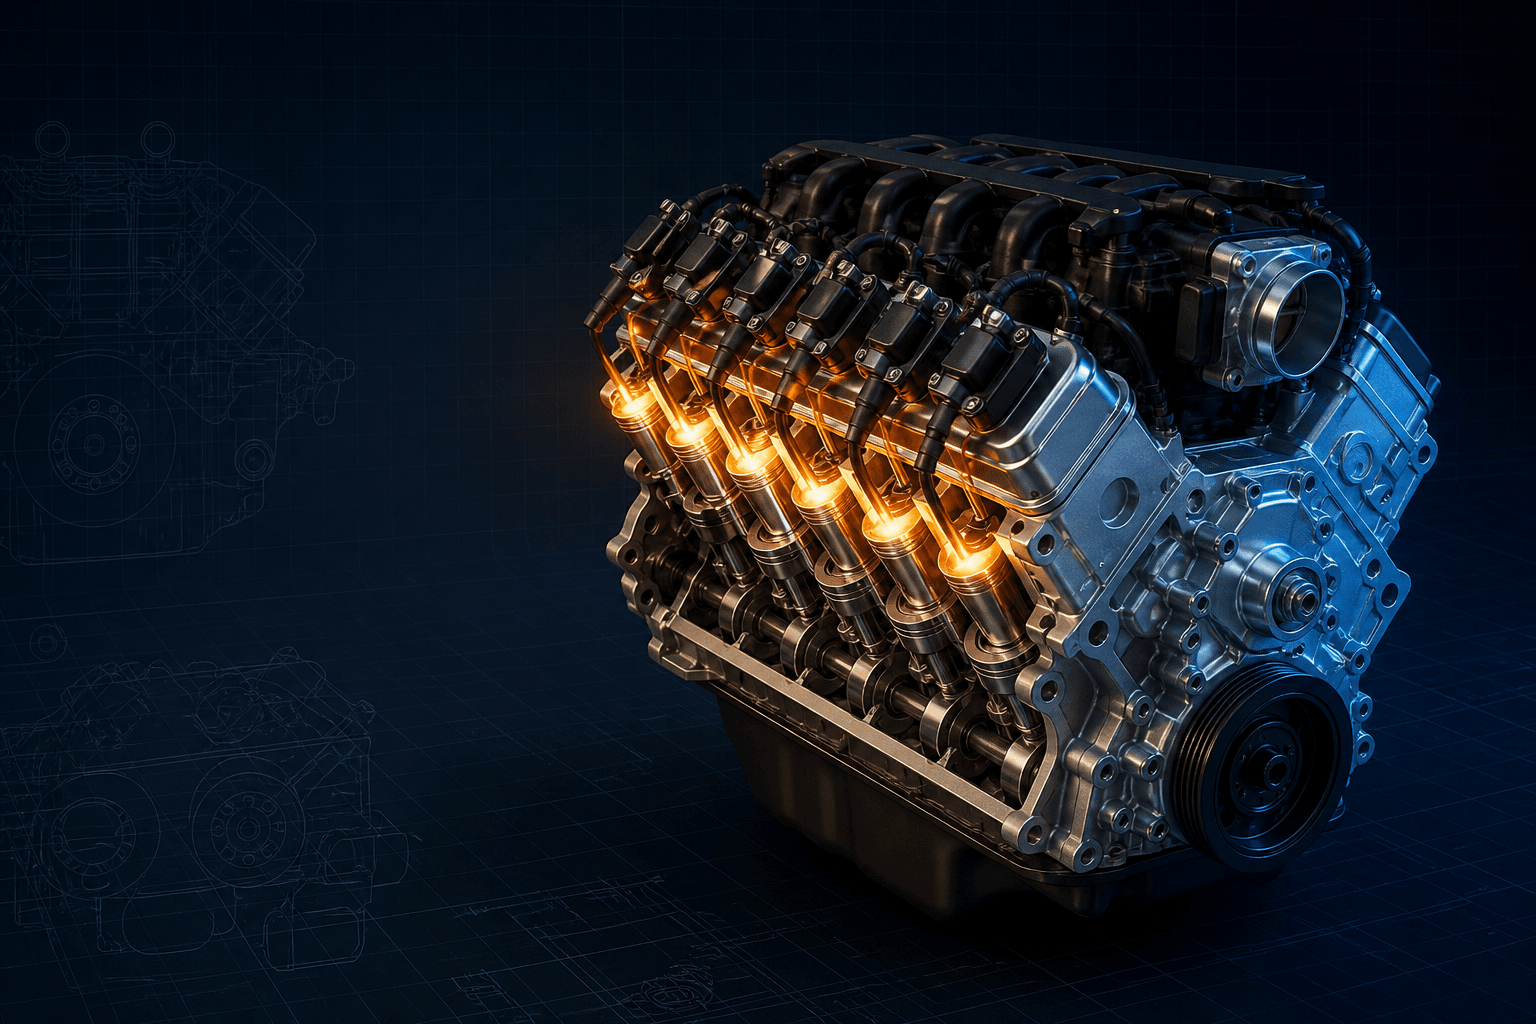
Interactive LS1 two-position rocker order
Branded downloads includedPNG and PDF exports carry the TorqueSheet logo, torquesheet.com, source-page URL, and republishing attribution request. The PDF source link is clickable.
Select position one, tighten the exact intake/exhaust groups, rotate 360°, then finish position two.
Chevy Ls1 Valve Adjustment Order Diagram
| APPLICATION / ITEM | SPECIFICATION | NOTES |
|---|---|---|
| Valve lash | Net build | No routine adjustment |
| Rocker bolt | 30 N-m / 22 lb-ft | Clean oil on flange/washer surface |
| Position 1 | No. 1 compression TDC | Tighten first listed group |
| Position 2 | Rotate crank 360° | Tighten remaining group |
This is a rocker-bolt installation order, not an adjustable lash chart. Incorrect pushrod length, milled heads, aftermarket lifters or a changed base circle require geometry measurement and the component maker's method.
How to use this specification correctly
- 01
Confirm the engine code, model year, cylinder-head casting and whether the valvetrain is original. Obtain the exact vehicle service procedure or the cam, lifter and rocker instructions for modified hardware.
- 02
Let the engine reach the specified hot or cold condition. Disconnect the battery when removing powered components, protect open oil drains and label coils, hoses, brackets and cover fasteners.
- 03
Remove the cover without dropping debris into the head. Inspect oil supply, springs, retainers, rocker tips, cam lobes and pushrods before changing an adjuster; mechanical damage cannot be repaired by hiding it with a tighter setting.
- 04
Rotate the crankshaft only in its normal direction with the specified socket. Put the valve being measured on the cam lobe's base circle or place the named cylinder at compression TDC according to the selected source.
- 05
Measure with clean gauges held square to the specified contact surfaces. A gauge should have an even light drag; forcing it through or measuring at an angle gives a false result.
- 06
Lubricate rocker arms, pushrod ends and rocker-bolt flange/washer surfaces with clean engine oil; ensure every pushrod seats in both the lifter and rocker.
- 07
At No.1 compression TDC tighten the first groups to 30 N-m, rotate the crank exactly 360 degrees, then torque the remaining groups.
- 08
Rotate the crankshaft through two complete revolutions by hand. Recheck timing marks, all adjusted positions and free movement before reinstalling covers with serviceable seals.
- 09
After startup, confirm oil pressure and listen for abnormal ticking. A persistent noise, misfire or low compression requires diagnosis of oiling, cam wear, lifter condition, valve seating and geometry rather than another blind adjustment.
Application and valvetrain boundaries
GM explicitly calls the production LS1 system net build. There is no cold feeler-gauge lash number to set on an unmodified engine.
The two-position order keeps each listed lifter on the cam base circle while its rocker bolt is brought to final torque.
How to use the interactive diagram
Select each point in order and mark that position on a worksheet only after the cam is on its base circle. The point labels describe the documented workflow; they are not a universal permission to tighten every rocker at once.
When a procedure uses two crank positions, finish the listed valves at the first position, rotate exactly as directed and complete the remaining group. When it follows firing order, move one cylinder at a time and verify compression TDC.
Measurement and adjustment notes
Lubricate rocker arms, pushrod ends and rocker-bolt flange/washer surfaces with clean engine oil; ensure every pushrod seats in both the lifter and rocker.
At No.1 compression TDC tighten the first groups to 30 N-m, rotate the crank exactly 360 degrees, then torque the remaining groups.
Mistakes that damage valves or camshafts
- Searching for a nonexistent stock LS1 lash screw
- Tightening a rocker while the valve is lifted
- Leaving a pushrod beside rather than inside the lifter cup
- Reusing parts in different positions without inspection
- Applying the stock net-lash process after milling or major cam/base-circle changes
Before the covers go back on
- Every measurement recorded by cylinder and intake/exhaust position
- Locknuts or pedestal bolts tightened with the specified tool and torque
- Pushrods seated in lifter cups and rocker seats
- Oil passages, seals and cover rails clean
- Crankshaft turned by hand with no binding
- Engine-specific firing order and timing marks rechecked
Chevrolet Chevy LS1 5.7L specifications can change by model year, engine, platform, wheel, and installed component. Confirm the VIN or engine identity, part numbers, fastener condition, and the current manufacturer instructions before service.
Chevy LS1 Valve Adjustment Order Diagram FAQs
Does a stock LS1 need valve adjustment?+
No. GM describes valve lash as net build with no adjustment required.
What is the LS1 rocker-arm bolt torque?+
The cited 2002 Camaro LS1 procedure specifies 30 N-m (22 lb-ft) in two crankshaft-position groups.
Should valve clearance be checked hot or cold?+
Use the condition stated by the exact procedure. Temperature changes the dimensions of the head, valves and valvetrain, so a hot specification cannot silently be used cold.
Can a noisy valve be fixed by tightening it more?+
Not safely. Noise may come from low oil pressure, a collapsed hydraulic adjuster, worn cam, bent pushrod, damaged rocker, excessive clearance or an exhaust leak. Diagnose the cause first.
Why must the cam lobe be on its base circle?+
The base circle is the non-lifting portion of the cam. Measuring or setting preload while the lobe is opening a valve creates a false setting and can hold the valve off its seat.
Technical sources
TorqueSheet favors engine- and component-specific manufacturer instructions over unsourced universal values.
1GM manuals and guidesOfficial GM model-year and VIN manual lookup.↗